
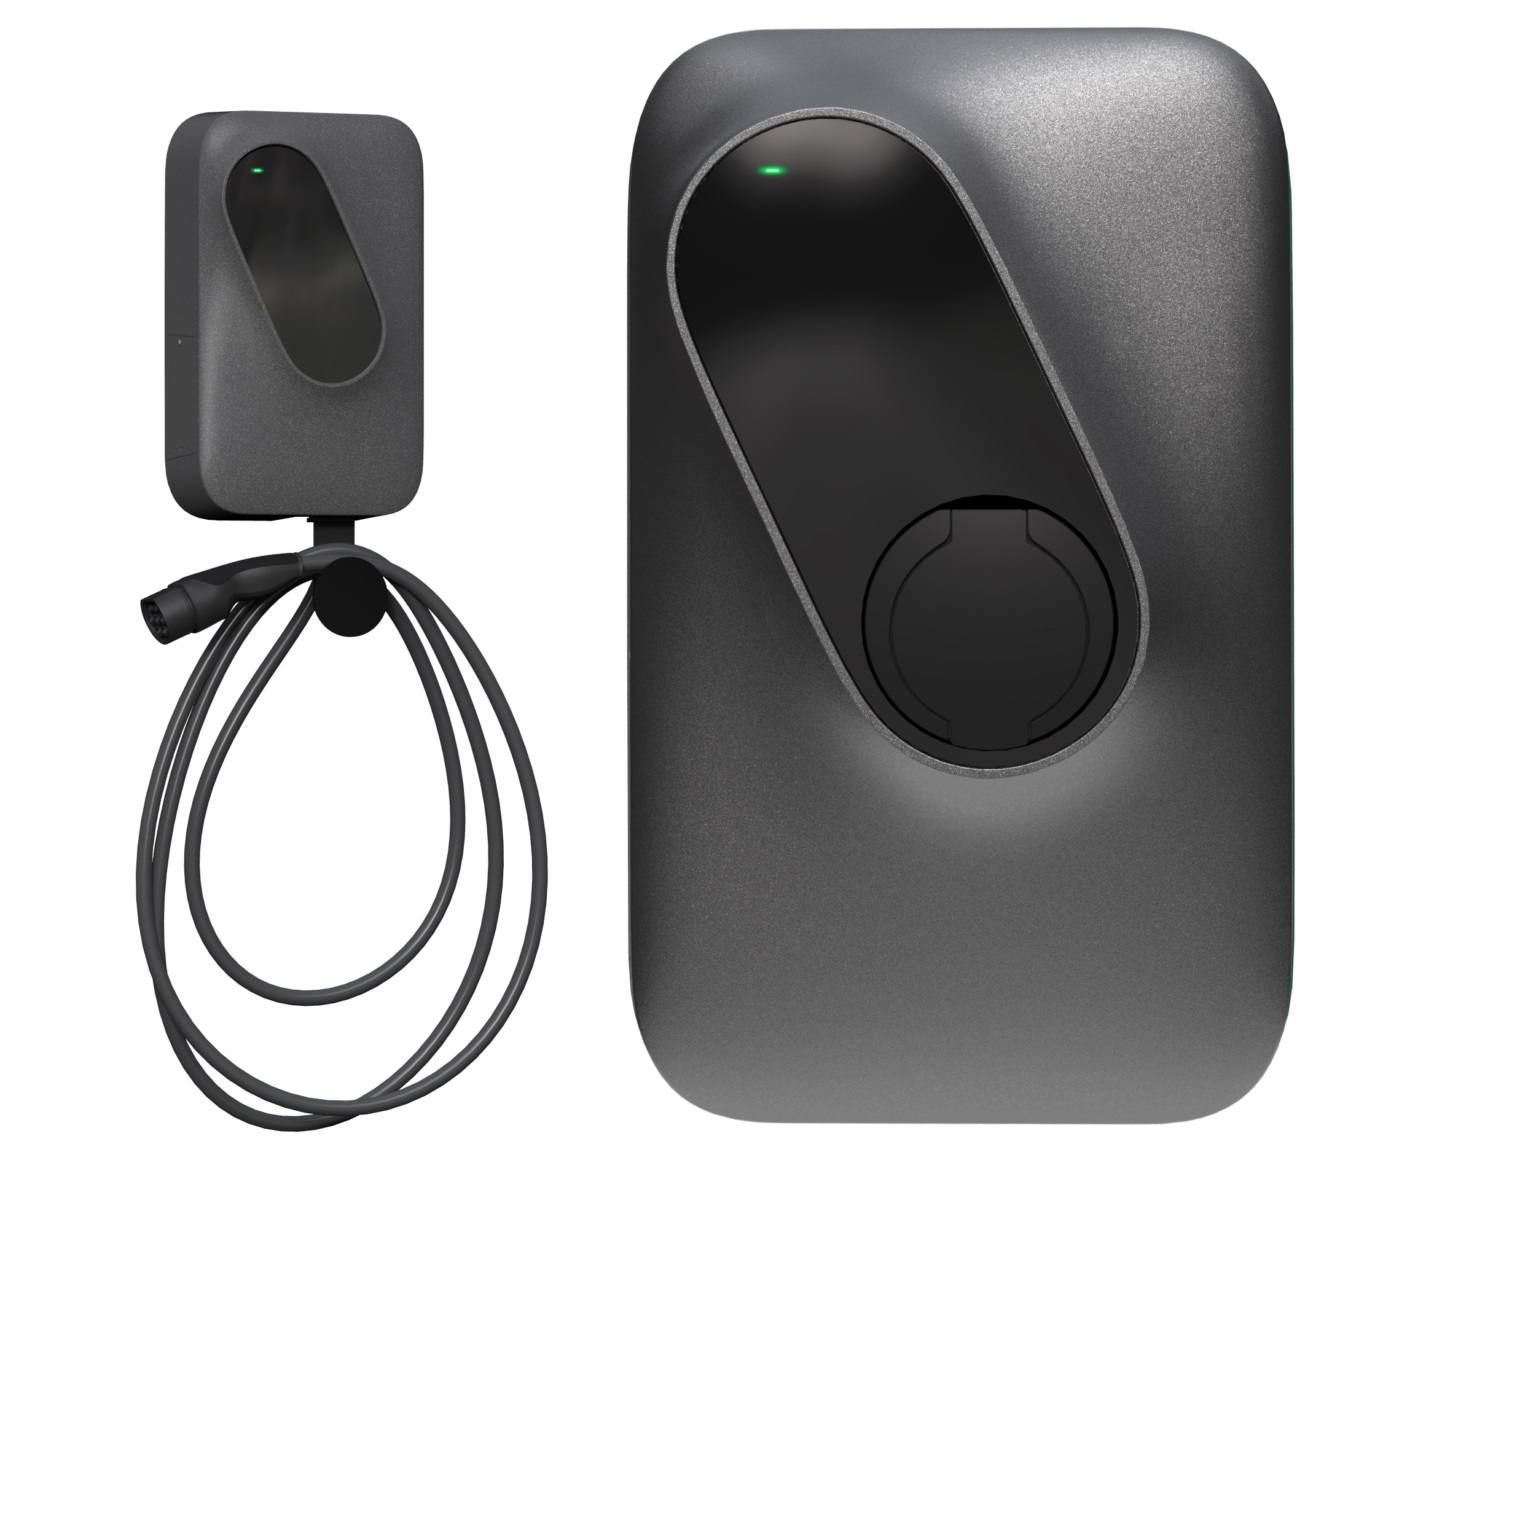
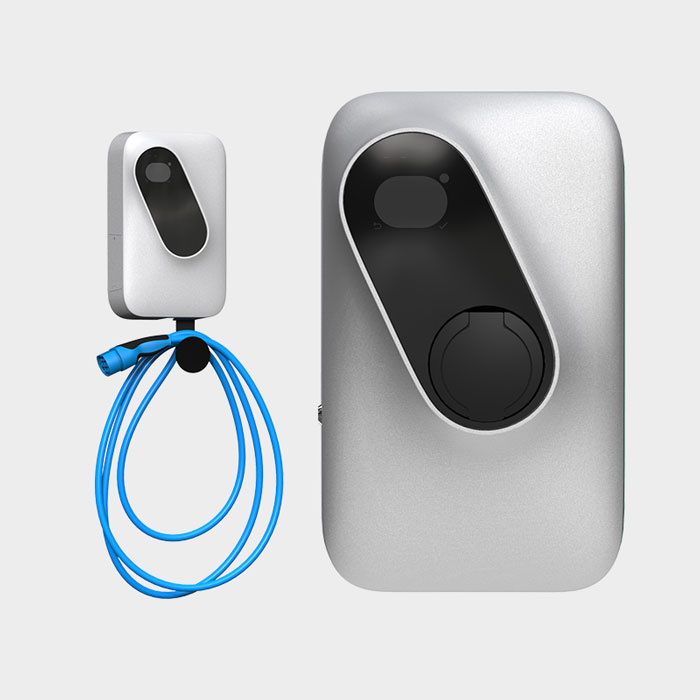
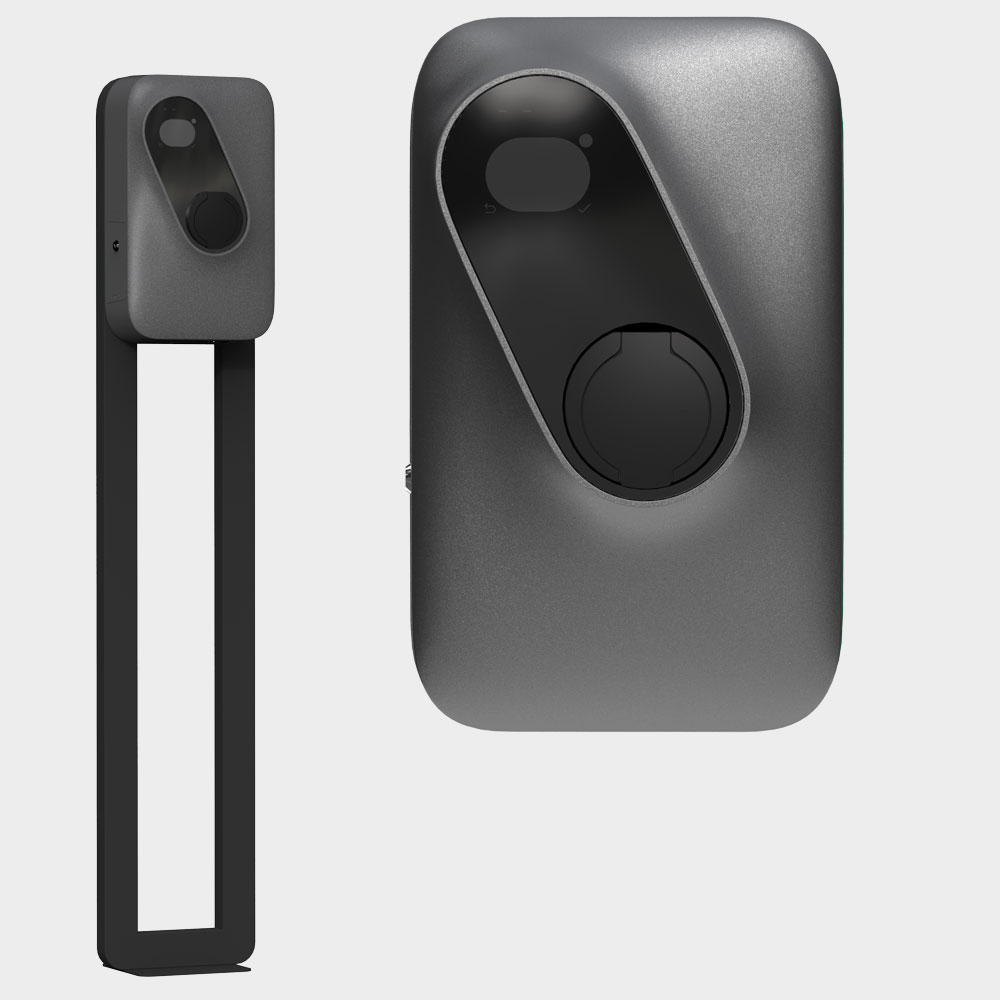
This manual provides instructions to enable the FlexIO integration in Etrel chargers, currently supported models are:
|
Lite |
|
Home |
|
Pro |
Configuration of FlexIO requires that the modbus communication is enabled in each individual charger’s settings, the procedure can be executed by accessing the charger’s web interface. Detailed instructions are provided in the following sections.
It is required that the charger is connected via ethernet cable to the same network as the FlexIO device.
Configuration
Accessing the web configuration tool
The Etrel charger provides a web configuration tool. This tool is server in port 80 of the device and can be accessed by typing the IP address of the charger in a web browser.
The IP address of the charger is (by default) set to 192.168.1.250. In previous versions, the IP address was automatically assigned to A.B.C.250, where A.B.C is the network address of the router, this may no longer be true in newer versions.
Ensure that the charger has DHCP enabled or that it has a valid static IP configuration, additionally verify that the charger address is in the same subnet as the control device.
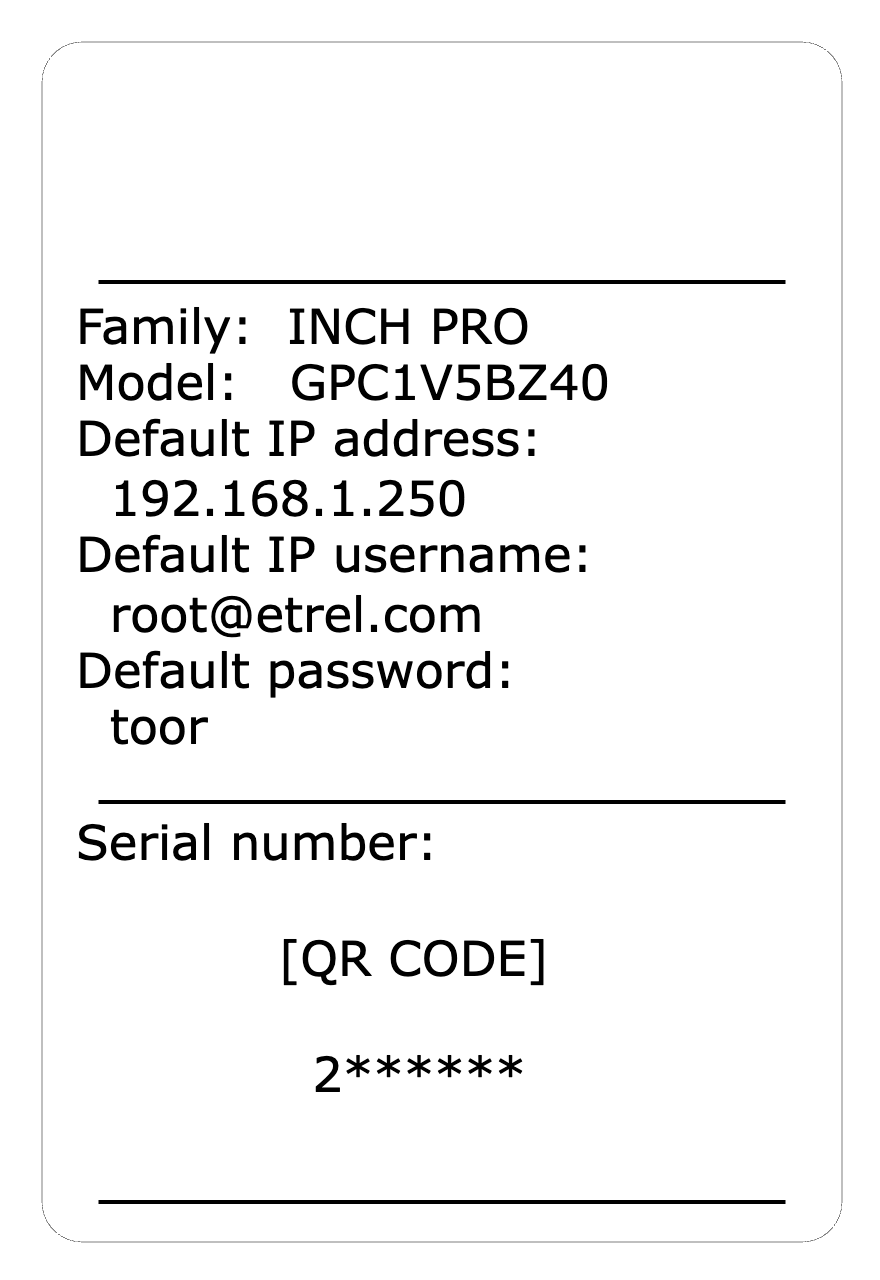
An information sticker will be present in the charger with the default IP address and other relevant information. Such as the one below:
Default login credentials
By default all Etrel chargers have the same login credentials:
Username: root@etrel.com
Password: toor
Configuring the charger for FlexIO
Make sure that the charger you are connected to is the one you want to configure.
To configure the charger, start by accessing the configuration pane on the hamburger menu on the top left corner of the screen.
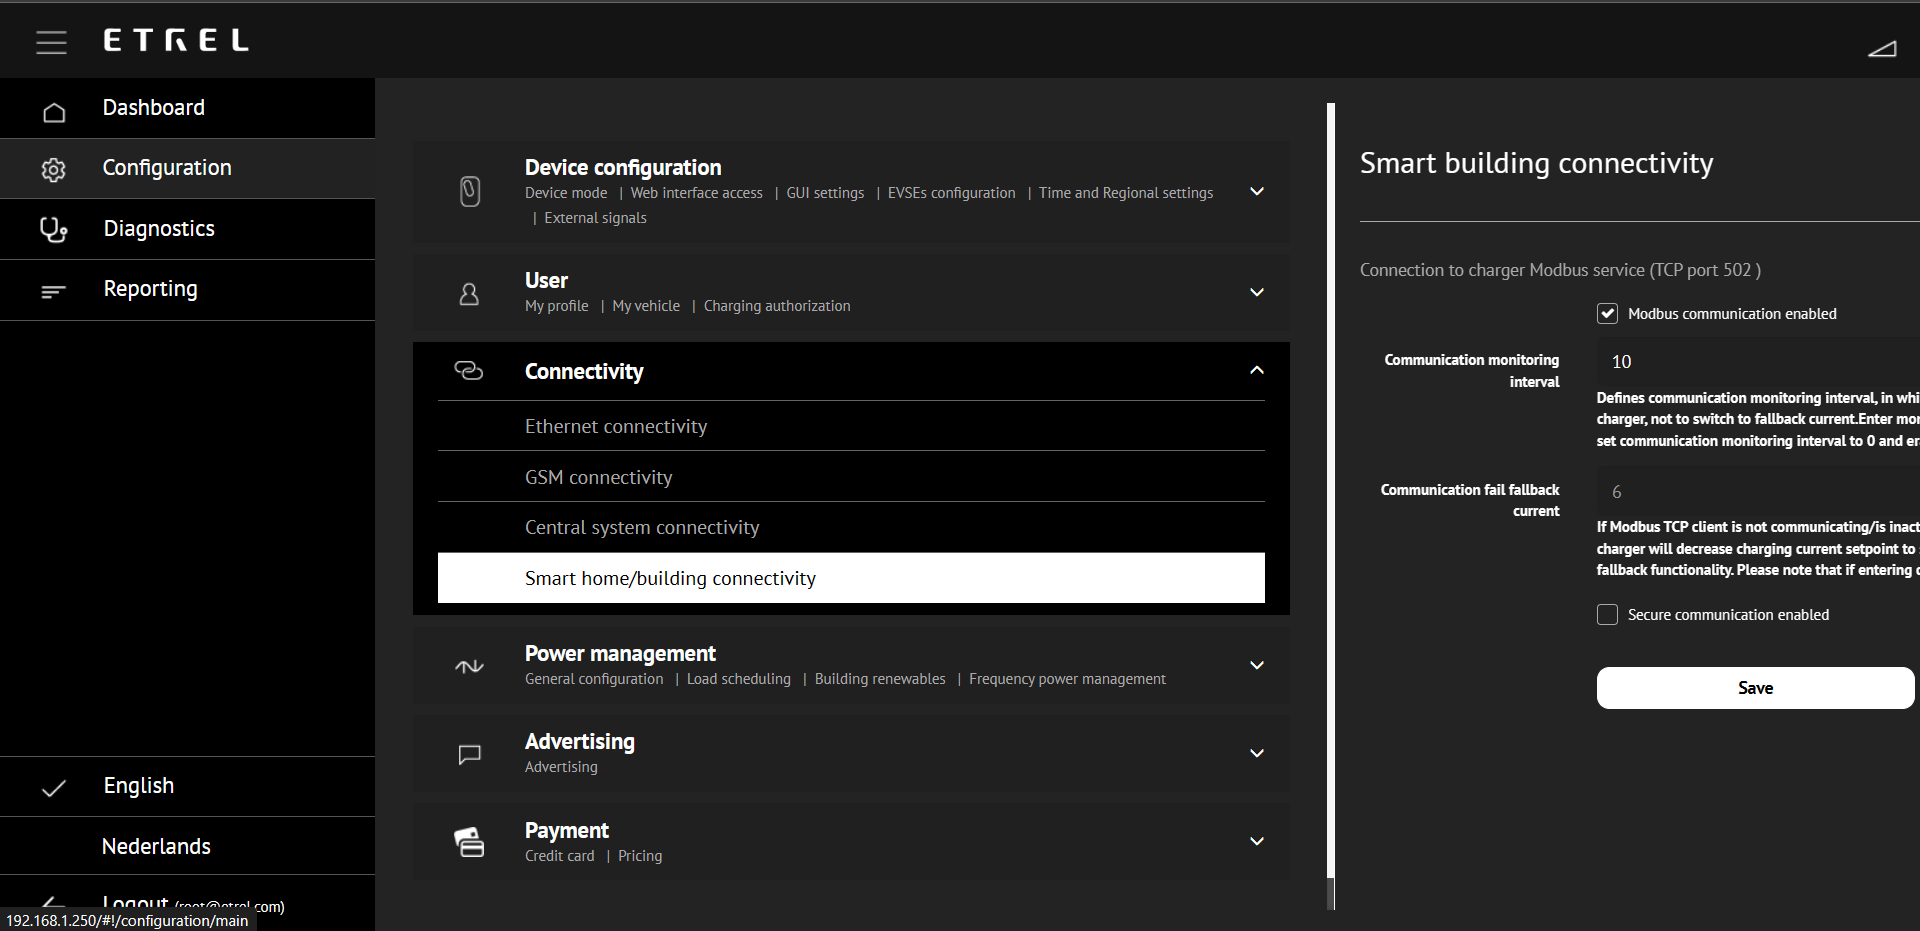
1. Enable Smart Building Connectivity (modbus)
On the Connectivity box go to Smart home/building connectivity.
-
Make sure that the
Modbus communications enabledbox is ticked. -
Set the
Communication monitoring intervalto 10. -
Set the
Communication fail fallback currentto 6.
It should look like this:
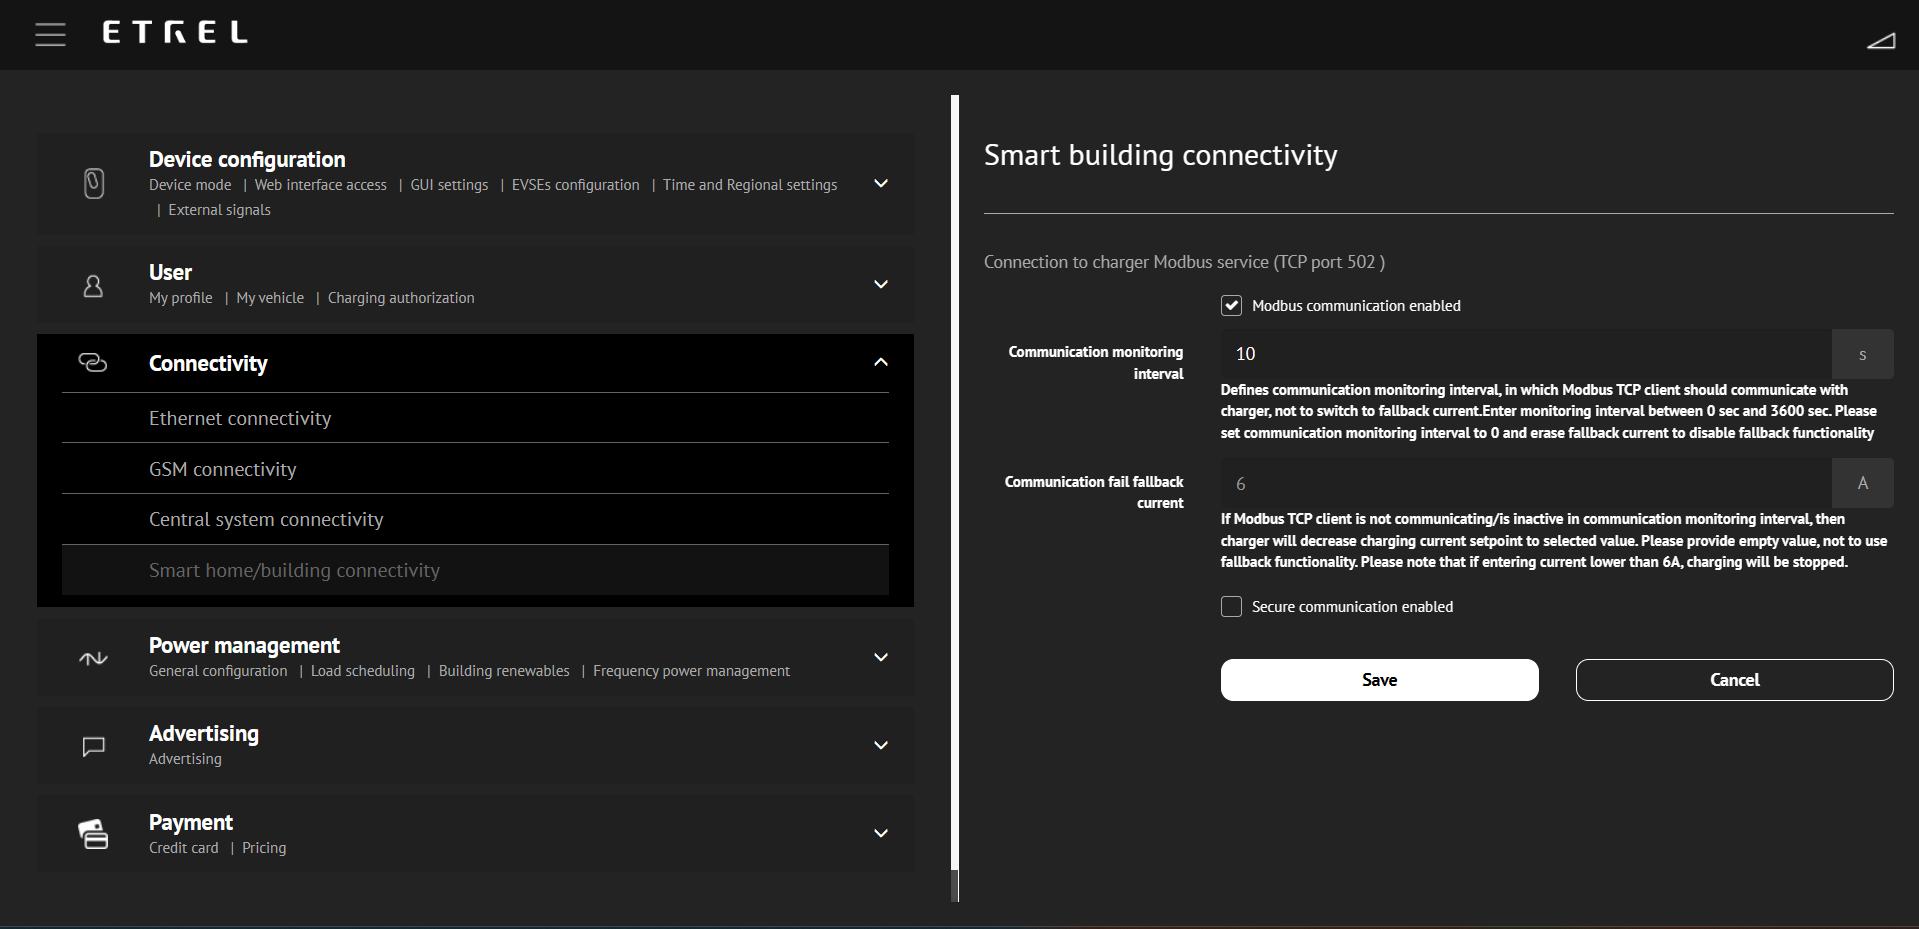
Both the Communication monitoring interval and the Communication fail fallback current can be changed according to installer/user preference.
Setting the monitoring interval to a lower value will make the equipment charge at Communication fail fallback current faster if there is no communication between FlexIO and the charger.
The Communication fail fallback current is the current should be set to a low value (6) or zero (0), using larger values can result in Capacity Tariff increses if communication is interrupted for long periods of time.
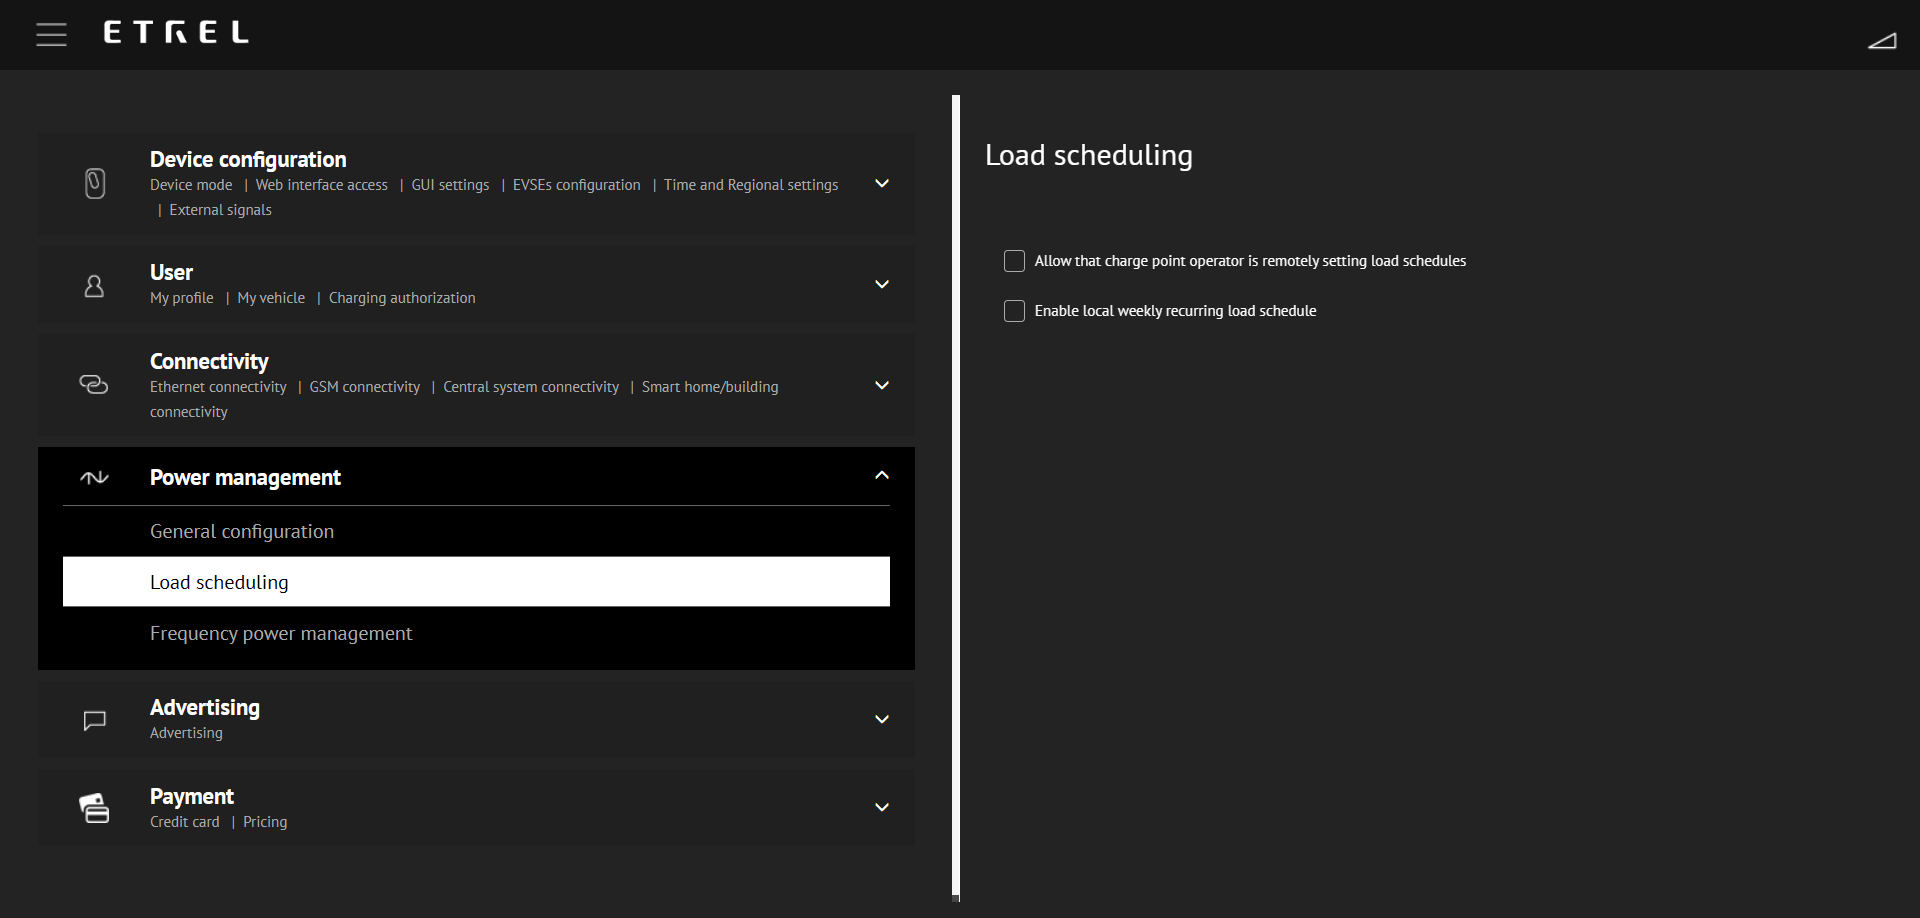
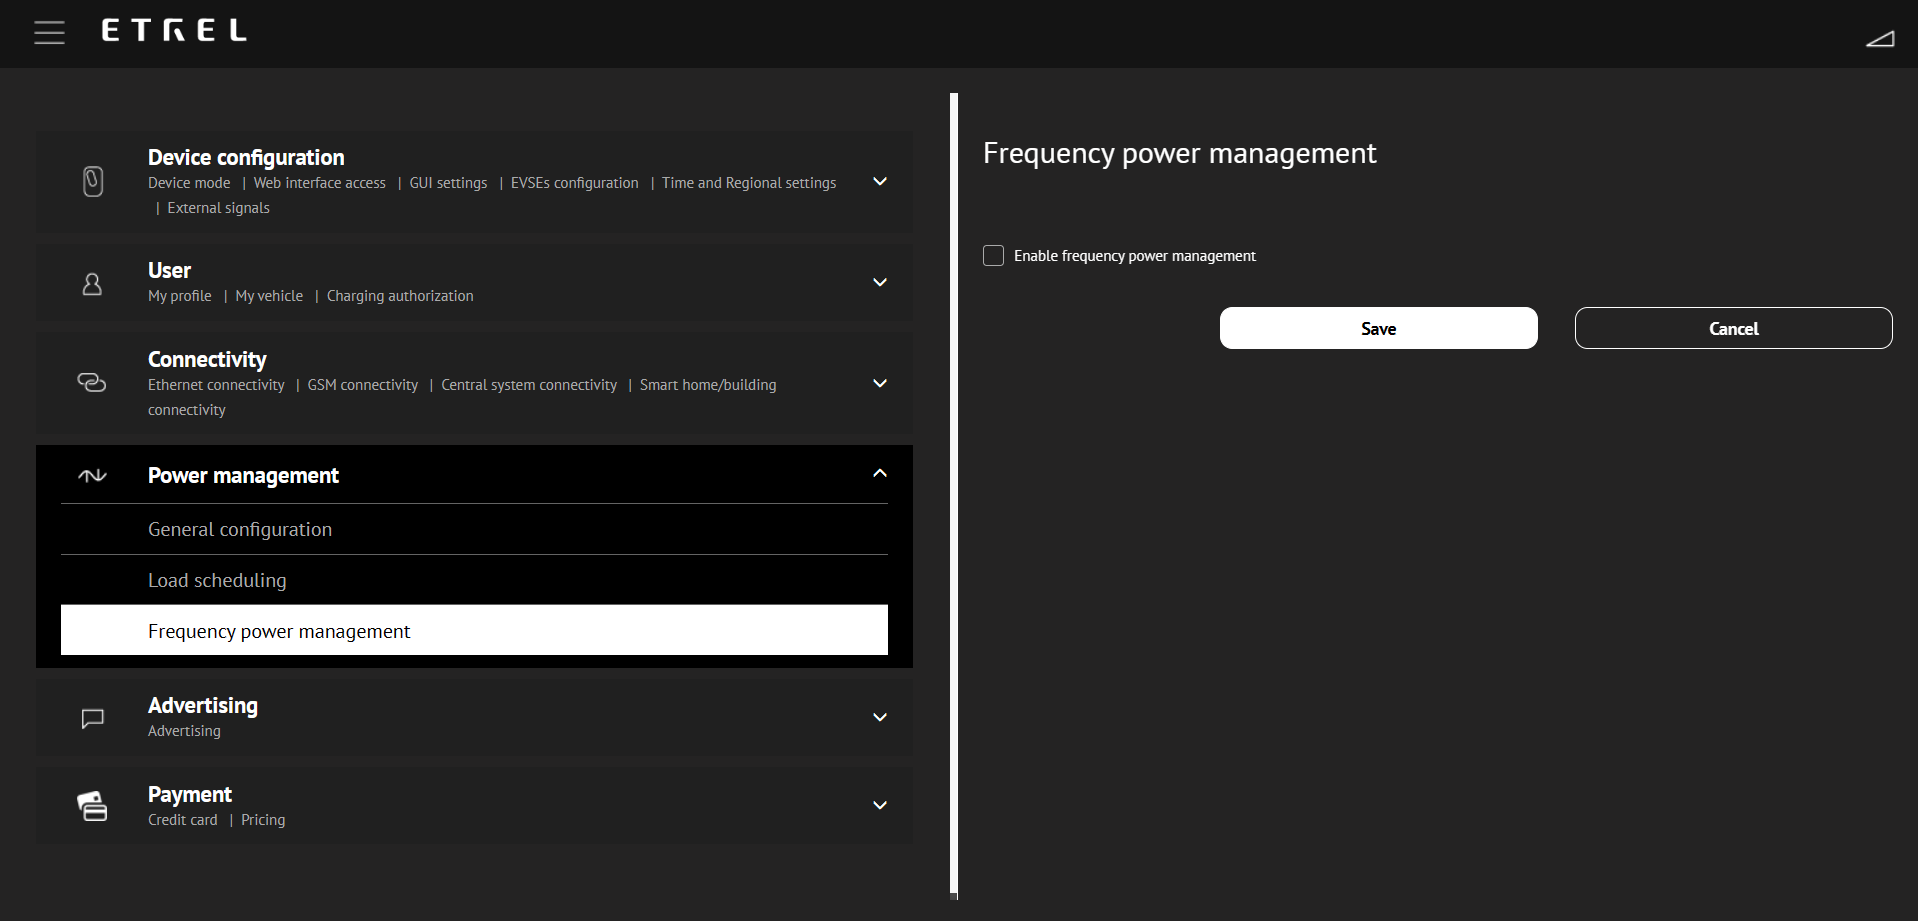
2. Disable the charger’s internal load management features
If the charger load management features are not disabled, the charger will try to manage the load itself, this will create conflicts with the FlexIO energy management logic and result in poor quality of control.
To disable these go to each menu on the Power Management box and disable the features. In the end the menus should look like this:

Useful Resources
Charger User Manual: pdf
Charger Configuration Guide (detailed explanation of the web configuration tool): pdf
Etrel Knowledge Base (detailed information on chargers):
https://etrelchargingsolutions.atlassian.net/wiki/spaces/Home/overview
Guide on connecting directly to the Etrel charger with a PC only (no router connection):
https://etrelchargingsolutions.atlassian.net/wiki/spaces/Home/pages/2236514315/Connecting+to+INCH+and+INCH+Duo+directly+with+PC