
How to configure the FlexiObox using the Config Wizard
Use this step-by-step guide to quickly configure your FlexiObox.
A LIFEPOWR installer login is required to configure a FlexiObox.
The FlexiO installer website also allows you to monitor and manage all your FlexiO installations.
No installer login yet? Read this section how to obtain.
Step-by-step plan
Before you get started...
After activation (claim), the upgrade process will automatically reboot the FlexiObox.
The update and reboot may take 10 to 15 minutes depending on the network speed.
During the reboot, the FlexiObox is temporarily not configurable.
If the FlexiObox reboots during the Config Wizard, only the data stored before the reboot will be transferred.
Simply restart the Config Wizard after restarting the FlexiObox.
Currently, the Config Wizard is only available in English
Start the Config Wizard
Make sure the FlexiObox is online
You can start the Config Wizard in 2 ways:
-
Click on the CONFIG WIZARD button in the top right corner after activating (claiming) the FlexiObox.
or -
Go to the Device Details page of the FlexiObox
and add the following after the URL ?wizard=true
Example of addition after URL:
https://partner.lifepowr.io/IO_fleet/devices/abcdefghijklmnopqrstu/device-details?wizard=true
Step 1: Step-by-step configuration of the FlexiObox
This is the overview page. Make sure you have as much information about your installation as possible. What exactly will be asked for is shown here in a nutshell.
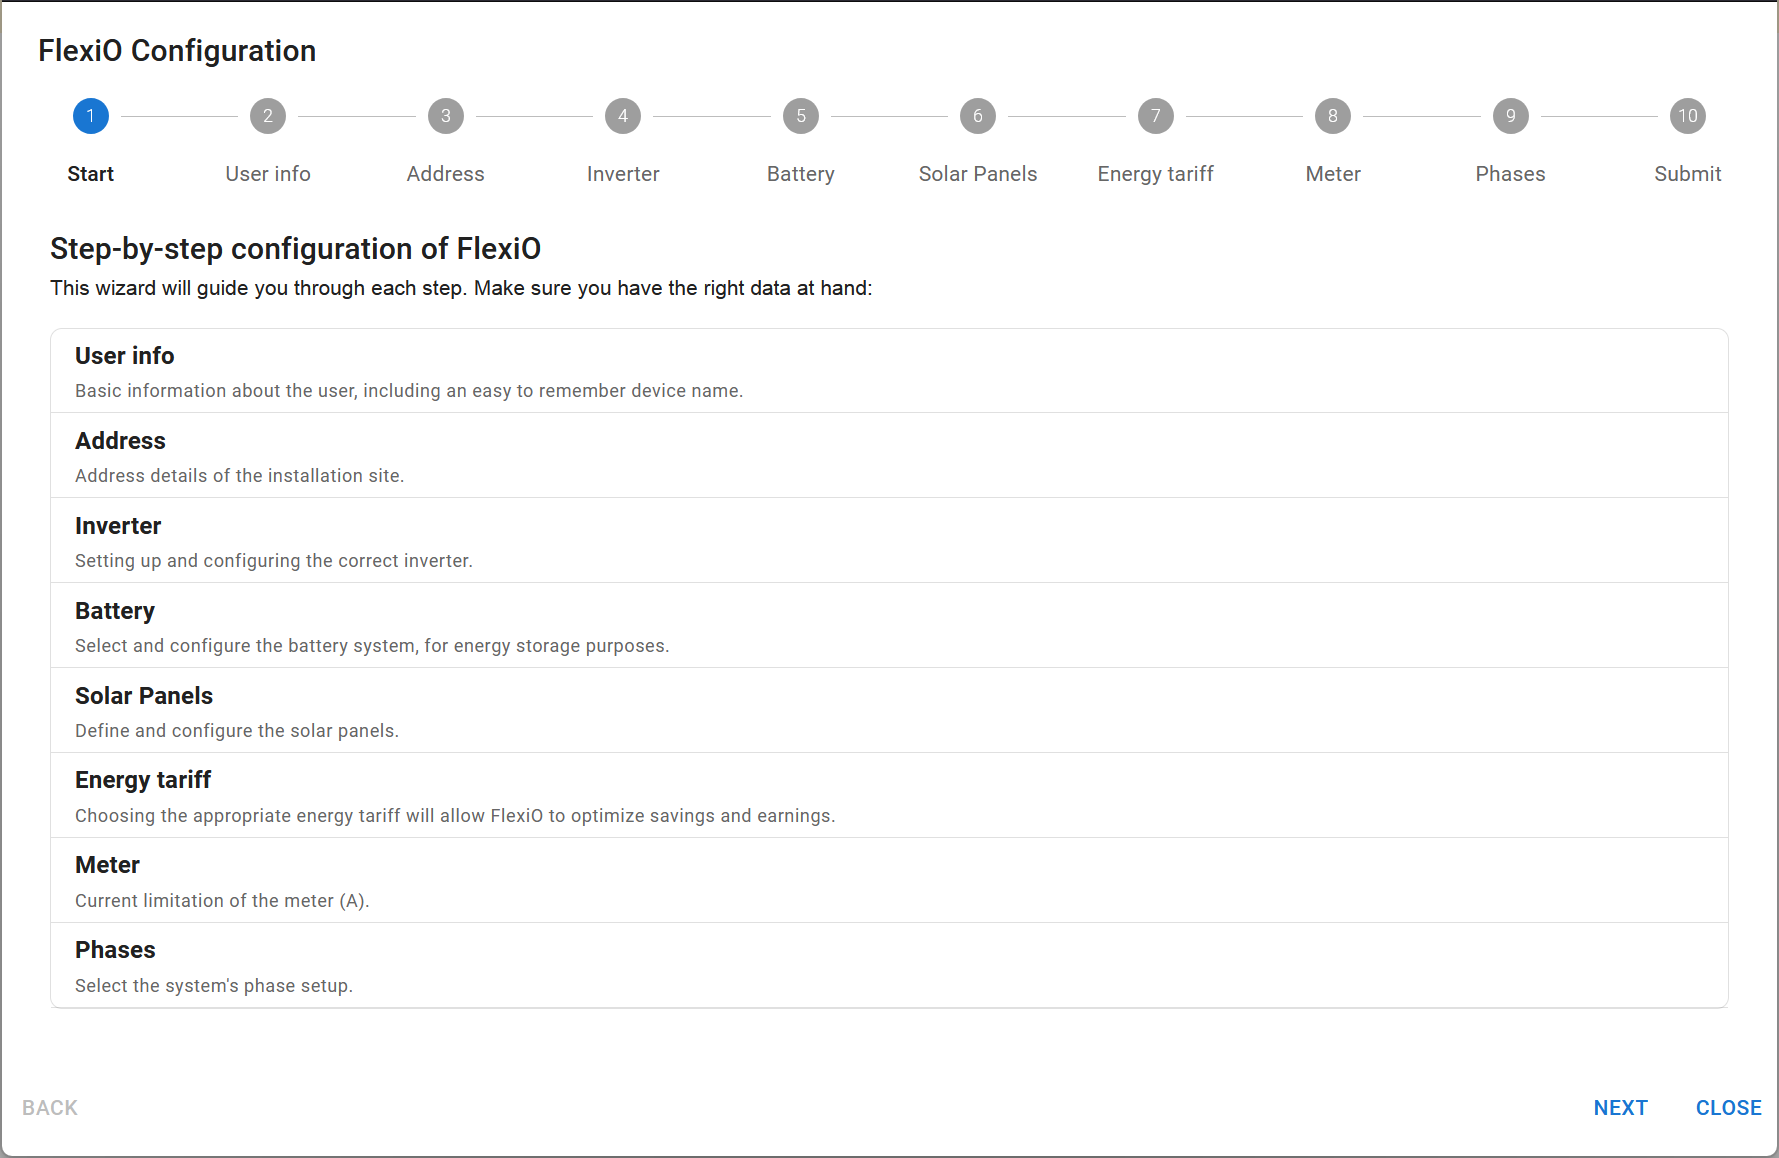
General Explanation:
Click NEXT to proceed to the next step.
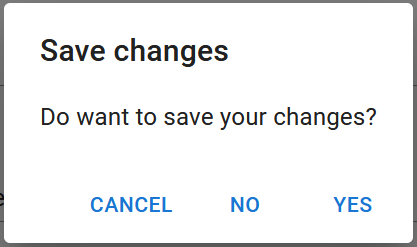
Click CLOSE to exit the Configuration Wizard. You will be asked whether you want to save the data you have already inserted:
-
CANCEL = return to the configuration wizard
-
NO = data entered so far will not be saved
-
YES = The data entered will be saved for later completion using the Config Wizard.
The data will be sent to the FlexiObox configuration.
You can skip steps and save them to resume recording later using the Config Wizard.
Step 2: End user information
FlexiObox device name: This name will be visible to the end user in the application.
Email address:
-
The email address the user has already registered with FlexiO
or -
The email address the user has not yet registered with FlexiO
The user will receive a welcome email with instructions on how to activate the P1 port.
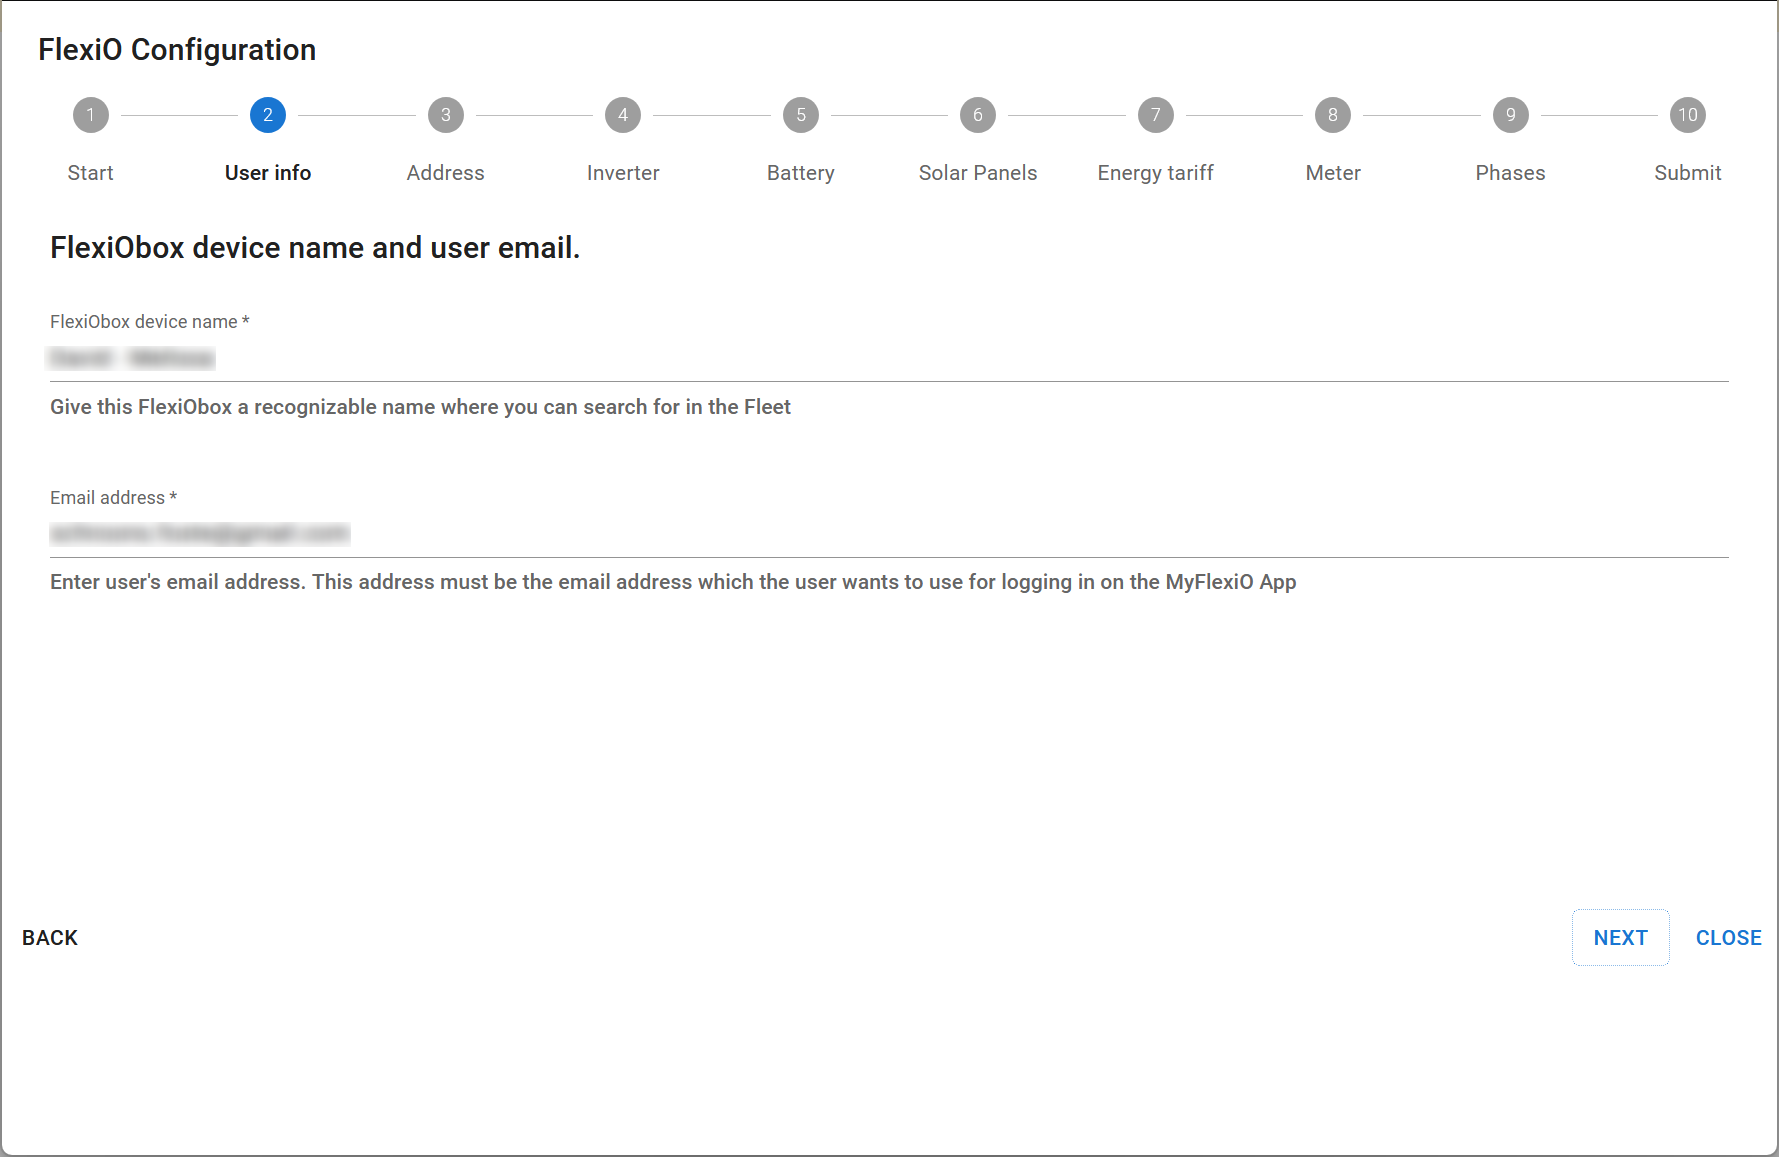
If you do not know the e-mail address, enter a temporary e-mail address that you can update later, such as mail@mail.com.
Step 3: Address
Installation address.
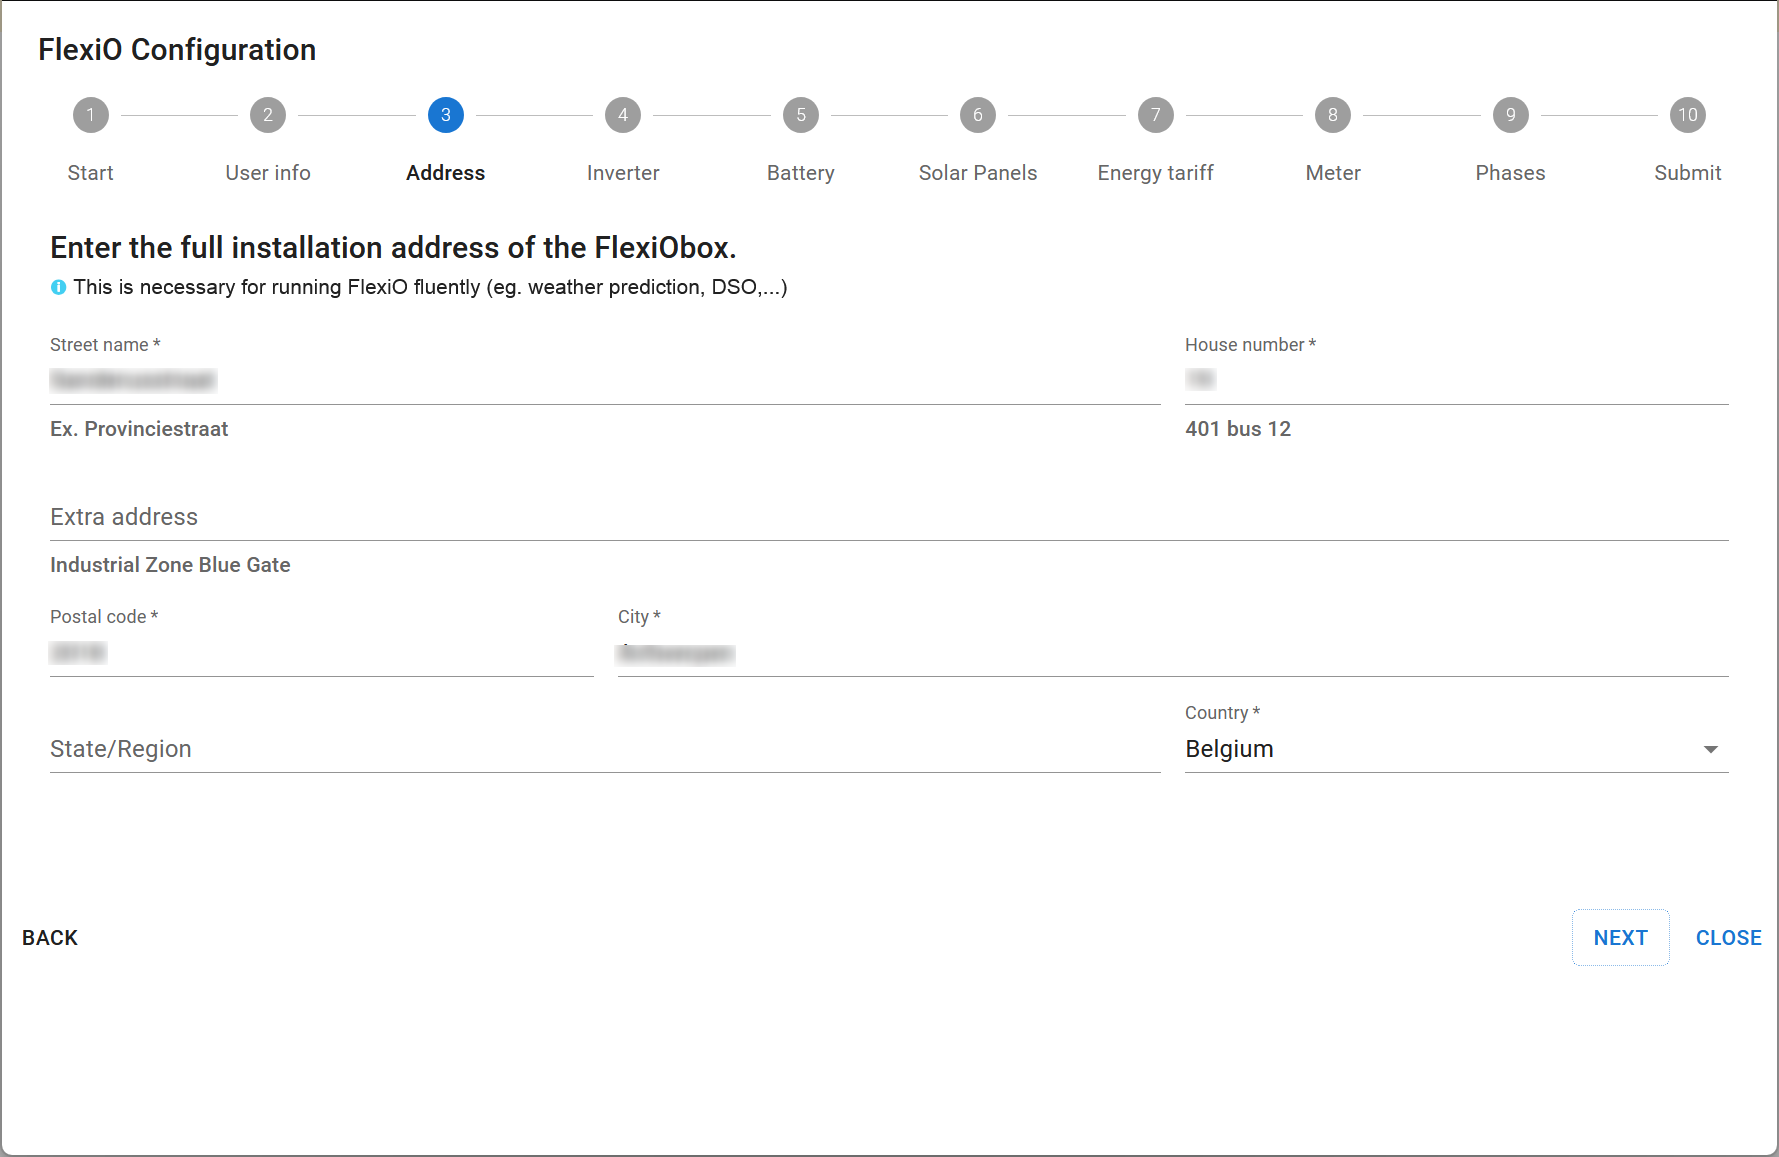
FlexiO uses this data to determine the local weather forecast to calculate the expected local solar production.
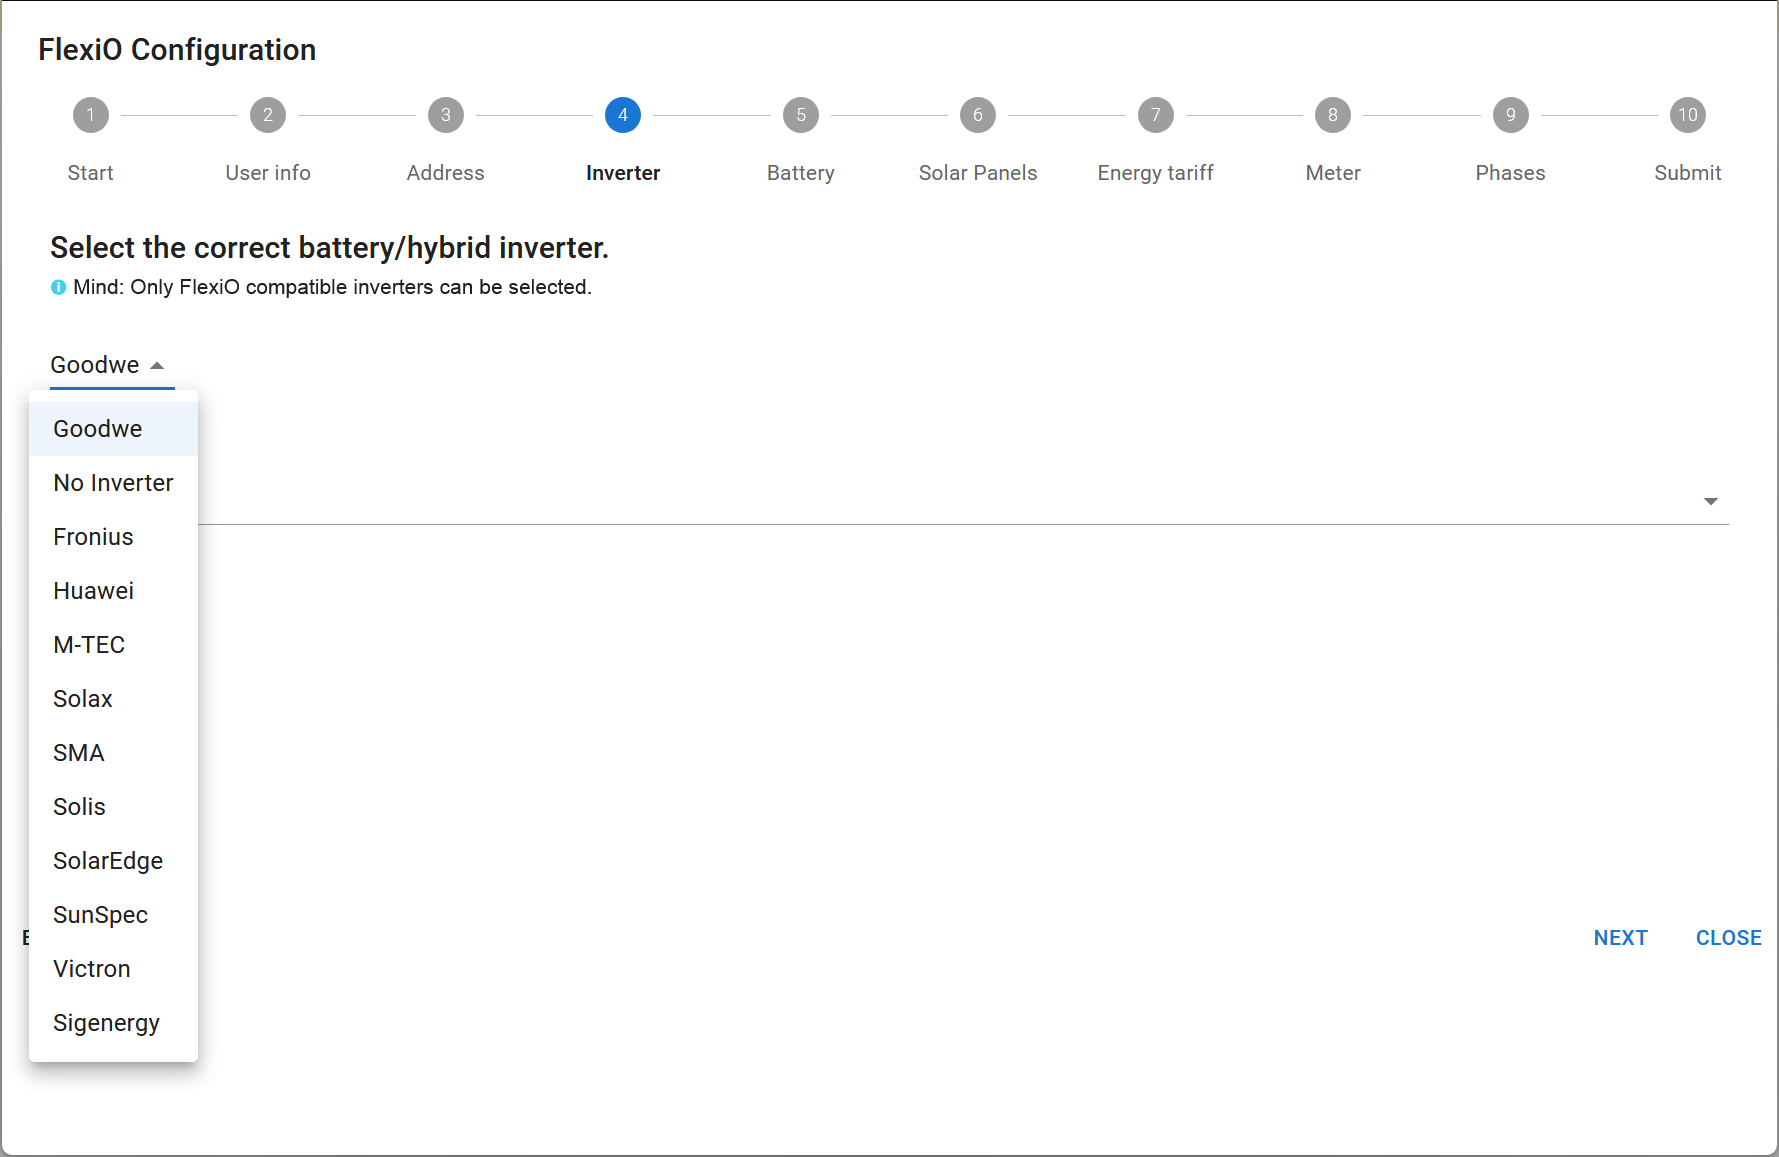
Step 4: Inverter
Select the brand of hybrid inverter.
Select the model of the hybrid inverter.
Only FlexiO compatible inverters will be displayed
The inverter is automatically recognized by FlexiO once the configuration is transferred and the FlexiObox is connected and active with the inverter.
-
Modbus TCP: The inverter is connected to the local network (Ethernet cable or Wi-Fi) and is recognized via the network. Both devices must be on the same local network.
-
Modbus RTU: Drive connected directly to the FlexiObox using the cables specifically provided by LIFEPOWER.
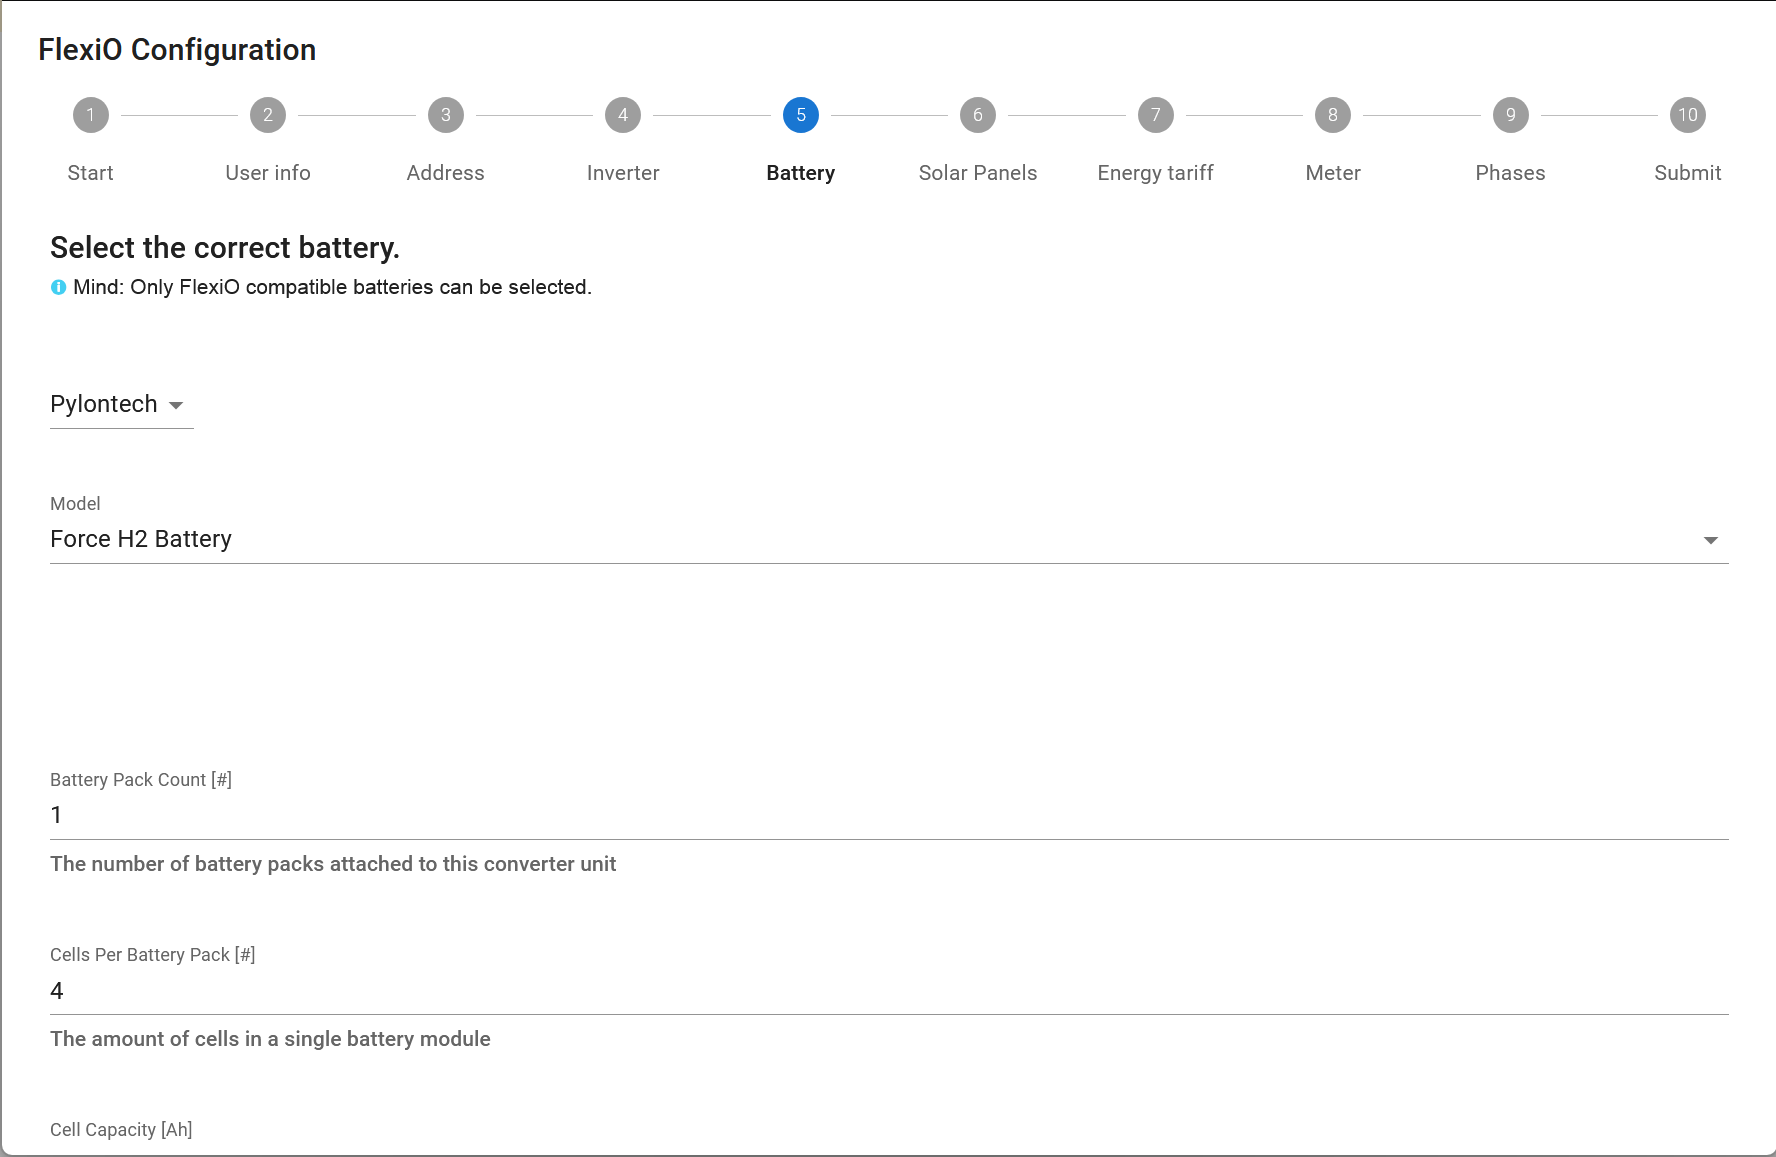
Step 5: Battery
Select the brand of the battery.
Select the model of the battery.
Explanation:
|
For HIGH voltage batteries: |
|
|---|---|
|
Battery Pack Count [#] |
The number of battery towers. |
|
Cells Per Battery Pack [#] |
The number of battery modules per tower. |
|
For LOW voltage batteries: |
(the opposite of HIGH voltage) |
|---|---|
|
Battery Pack Count [#] |
The number of battery modules per tower. |
|
Cells Per Battery Pack [#] |
The number of battery towers. |
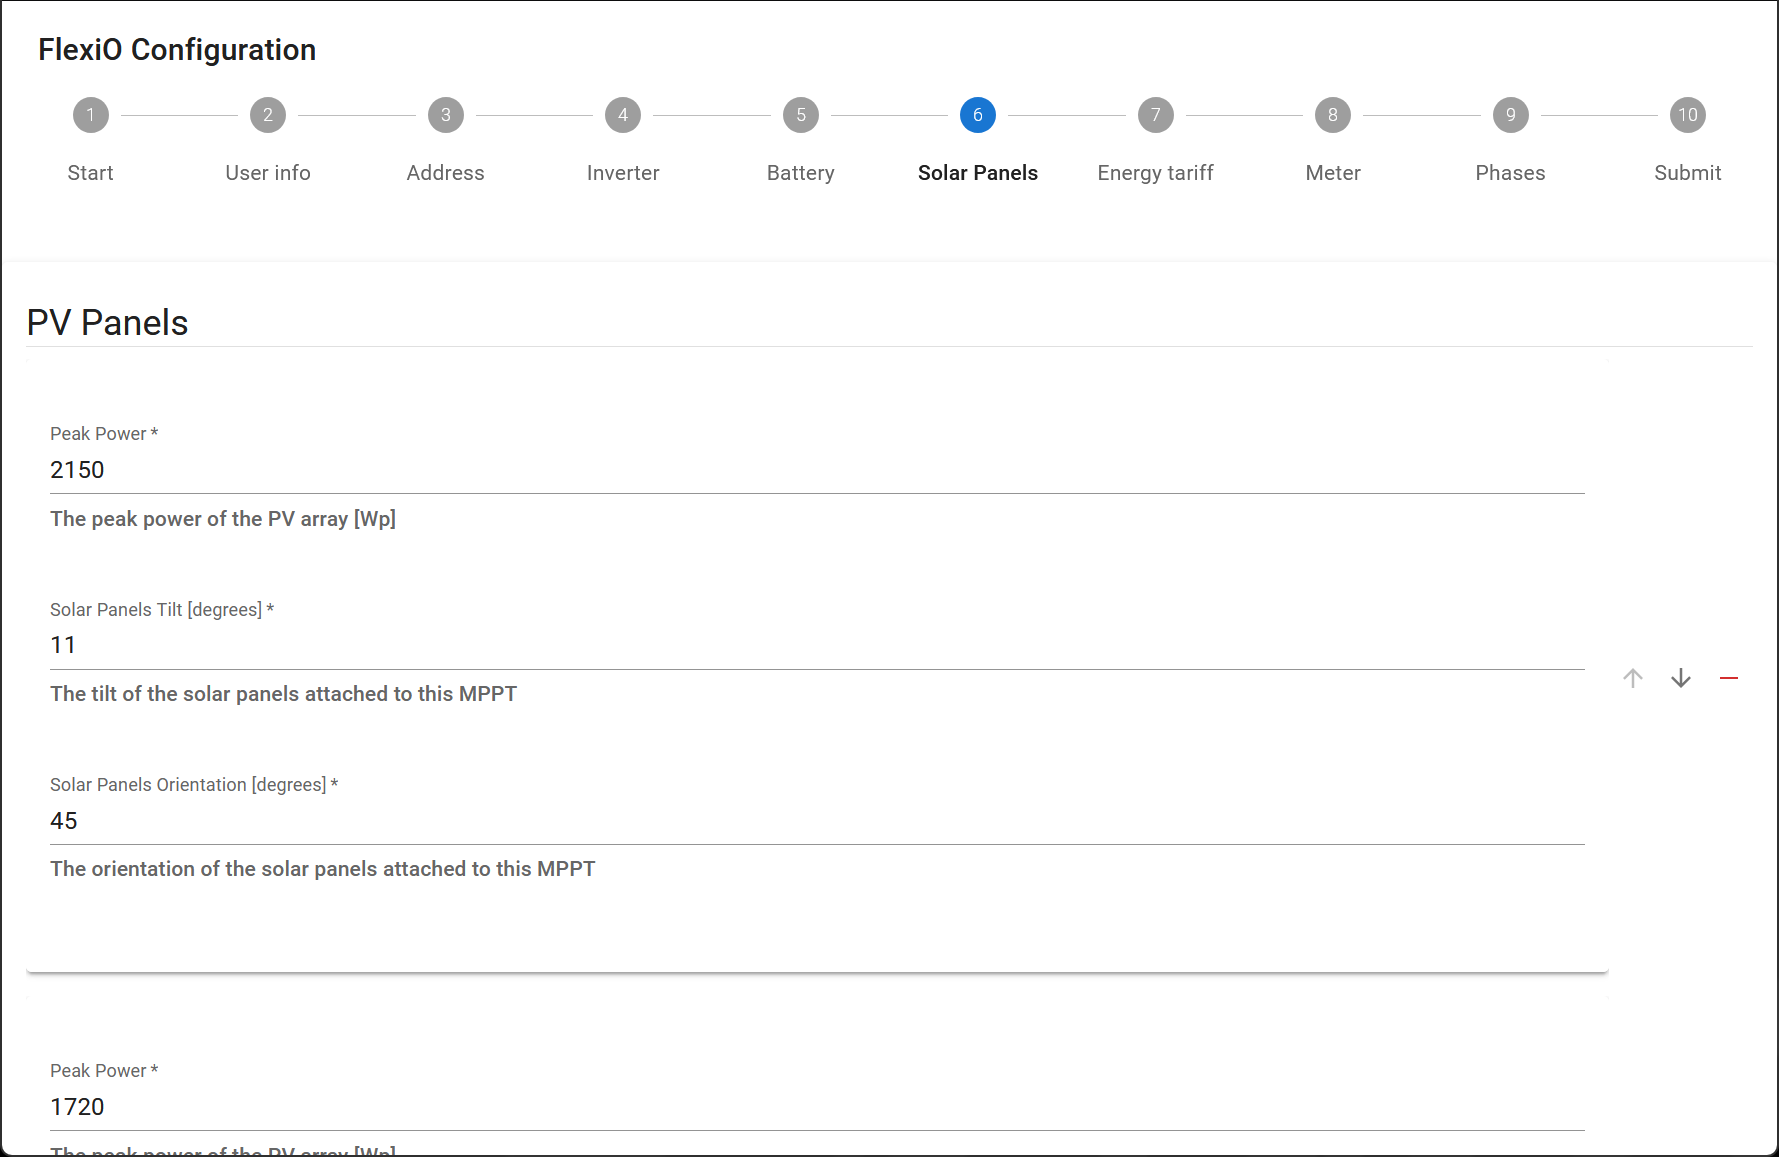
Step 6: Solar panels
Both hybrid and retrofit panels can be added here.
For more information on solar panels, click here: Zonnepanelen details
The configuration mentions pvArray, which amounts to a roof plane.
A roof plane is a group of solar panels with the same orientation and tilt.
Explanation:
|
Peak Power |
The total power in Watt peak per roof surface. You do not have to take into account the physical strings or optimiser configuration Example: 20 panels of 400 Wp per panel = 8000 Wp |
|
Solar Panels Tilt [degrees] |
Slope in degrees of the roof / solar panels. Example:
|
|
Solar Panels Orientation [degrees] |
Orientation of the solar panels (N-O-Z-W). Example:
or any other intermediate value as an integer between -180 and 180. The gradation scale is not the same as that of a compass! |
If you have multiple configurations with different arrangements (e.g., east-west installations), enter each plane separately. You can create an additional roof level by clicking the "+" and repeating the exercise.
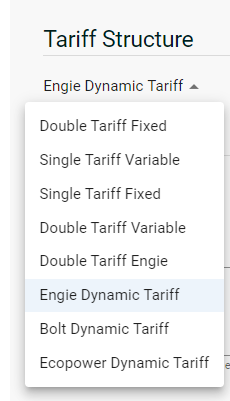
Step 7: Rate Structure
Select the rate structure to use from the drop-down list:
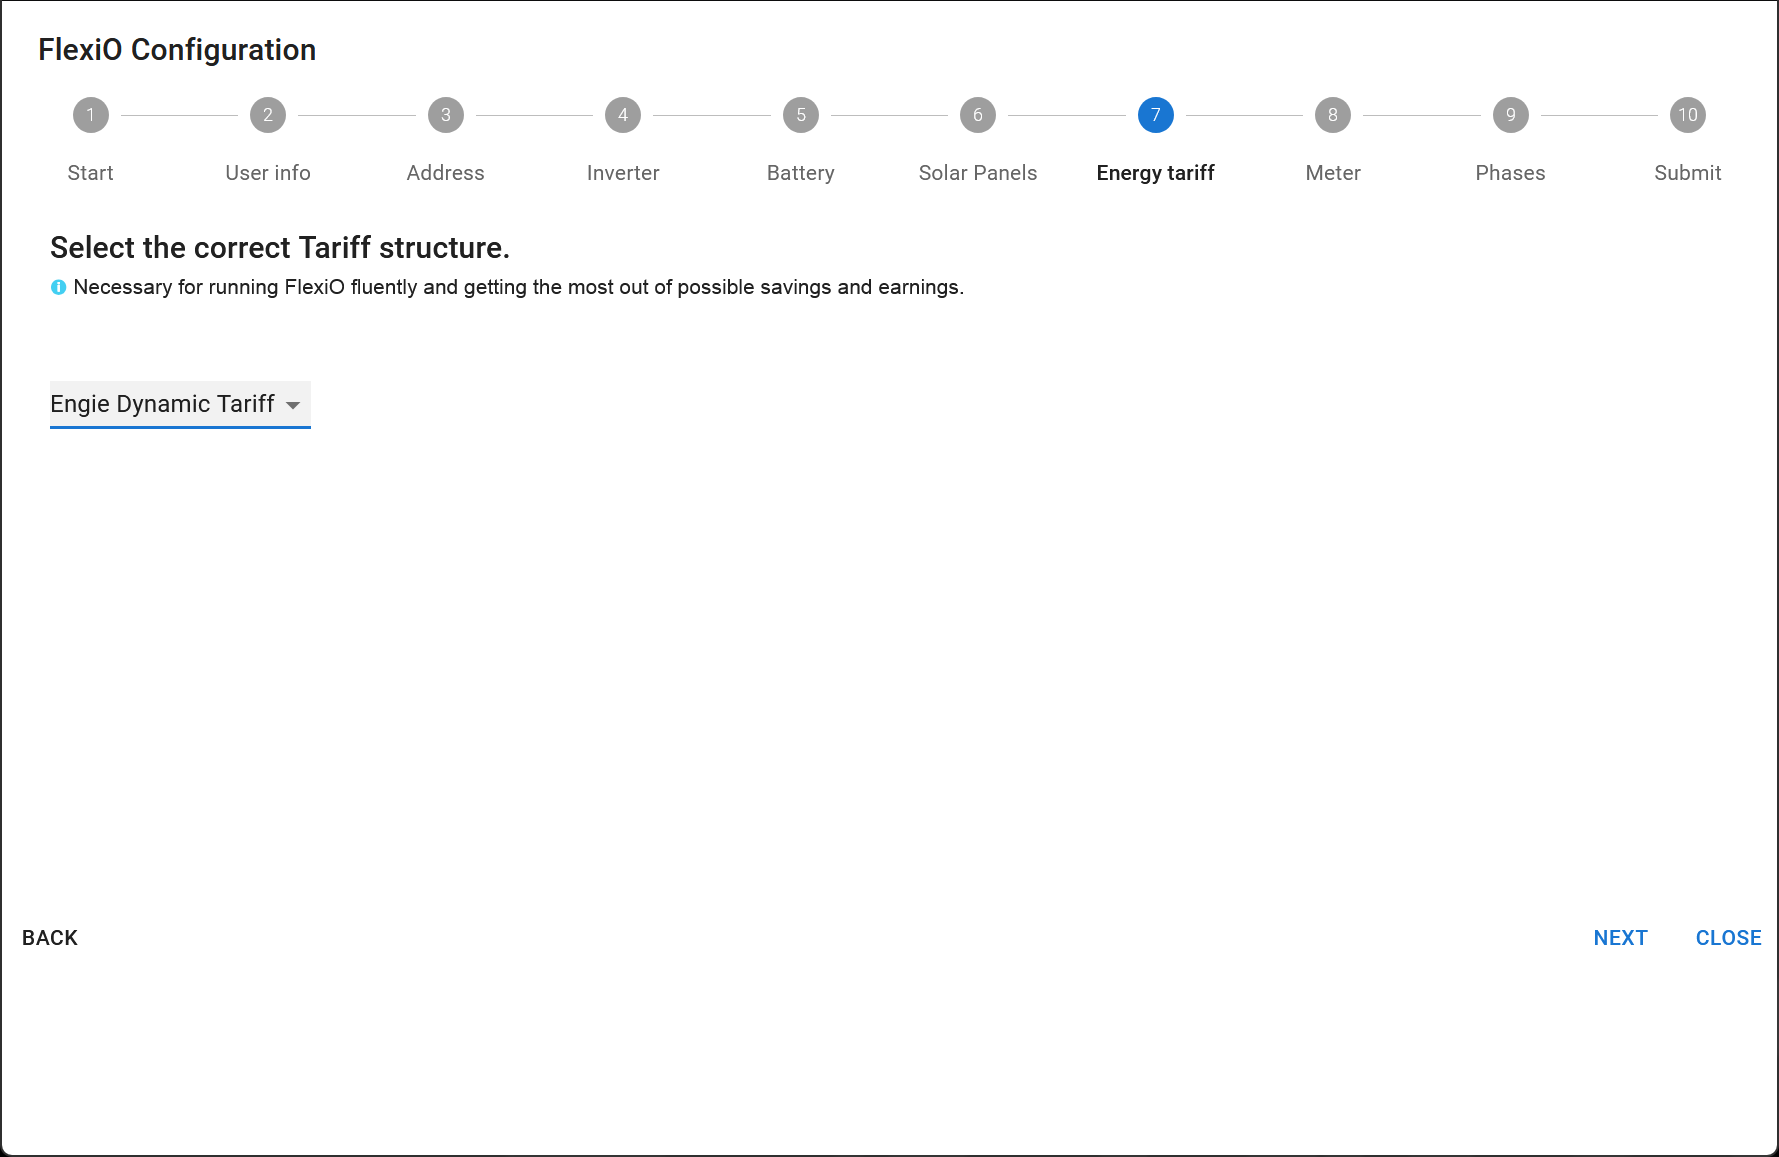
Explanation:
|
Fixed |
In case of Single Tariff Fixed or Double Tariff Fixed, the energy price (price excluding taxes, network costs, fees) MUST be entered manually in €/kWh.
If your customer's exact rate card is not known, select Variable. |
|
Variable |
FlexiO applies an average market price. |
|
Dynamic [supplier] |
The energy supplier's formula conditions for imports and exports are included in the FlexiO algorithms. |
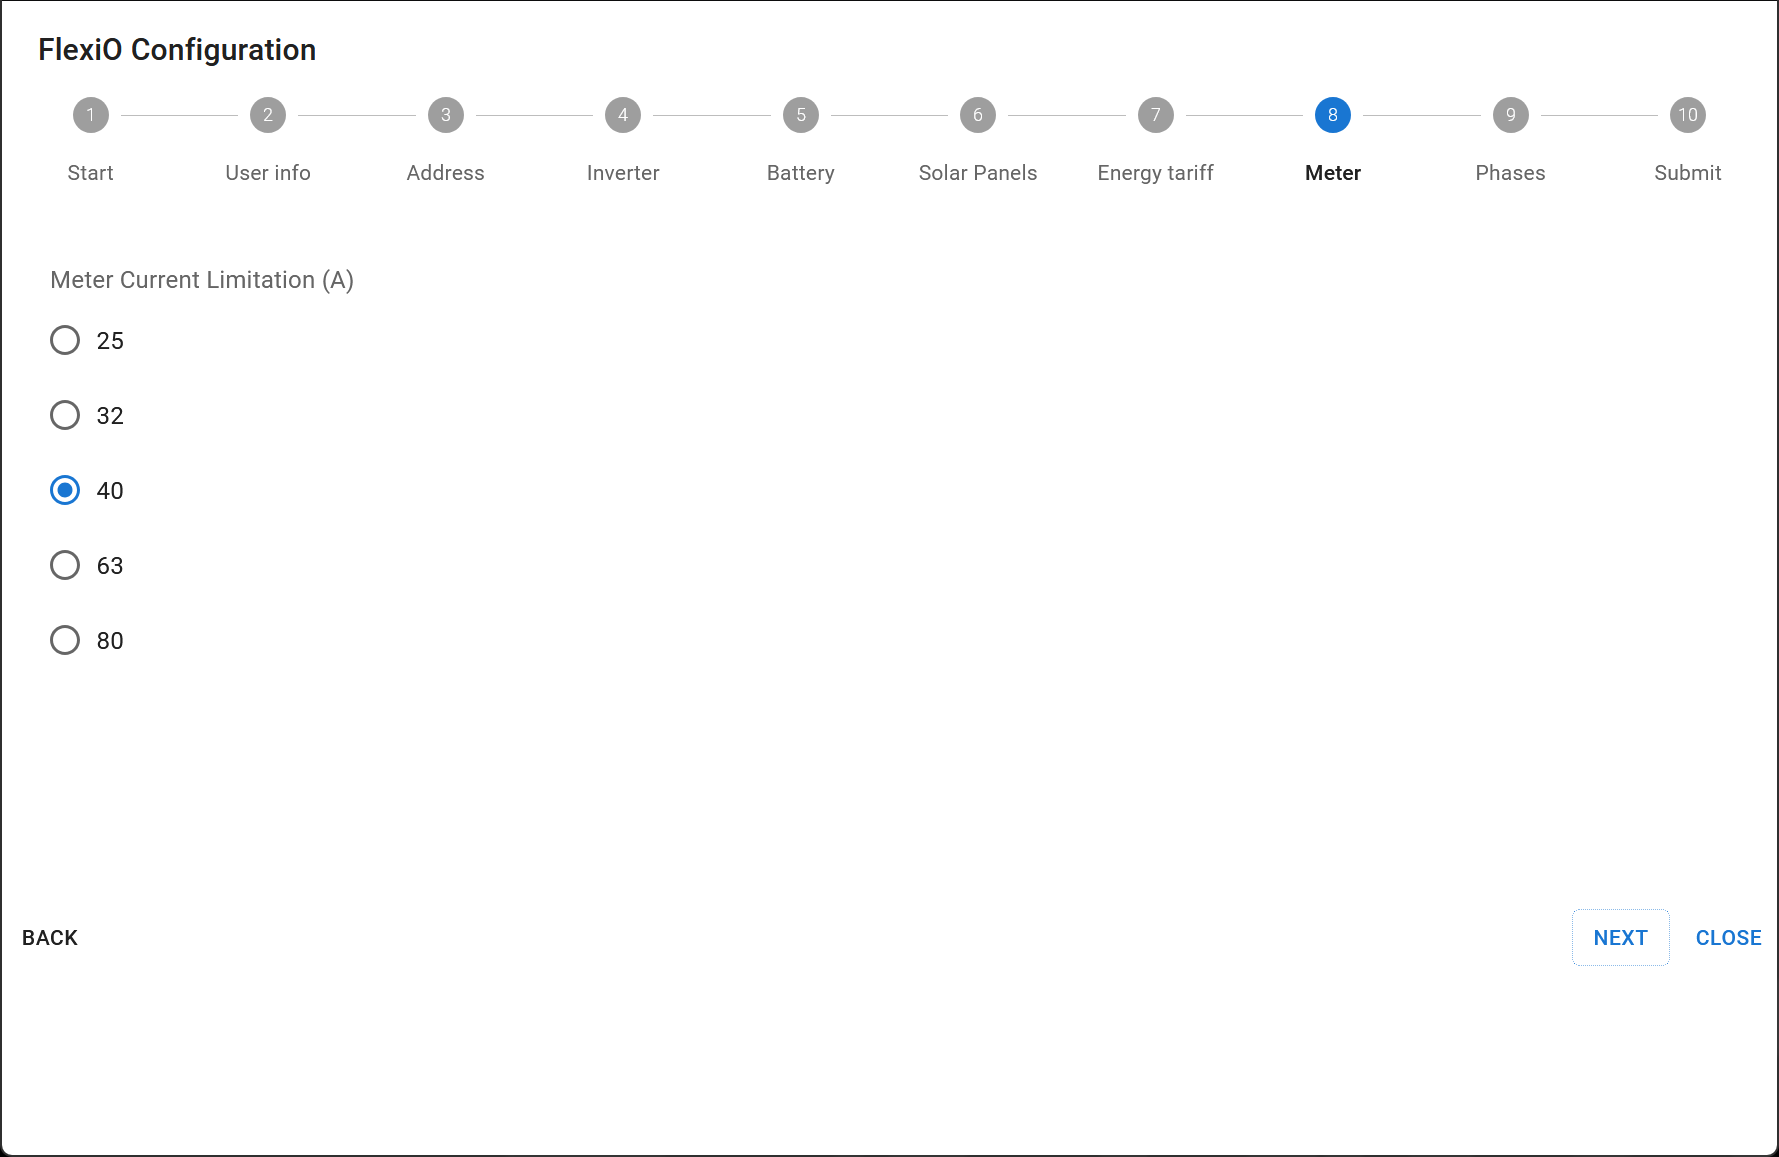
Step 8: Meter limitation
Displays the total connected power of the electrical installation in Amps:
-
25
-
32
-
40
-
63
-
80
Is the value of the main fuse
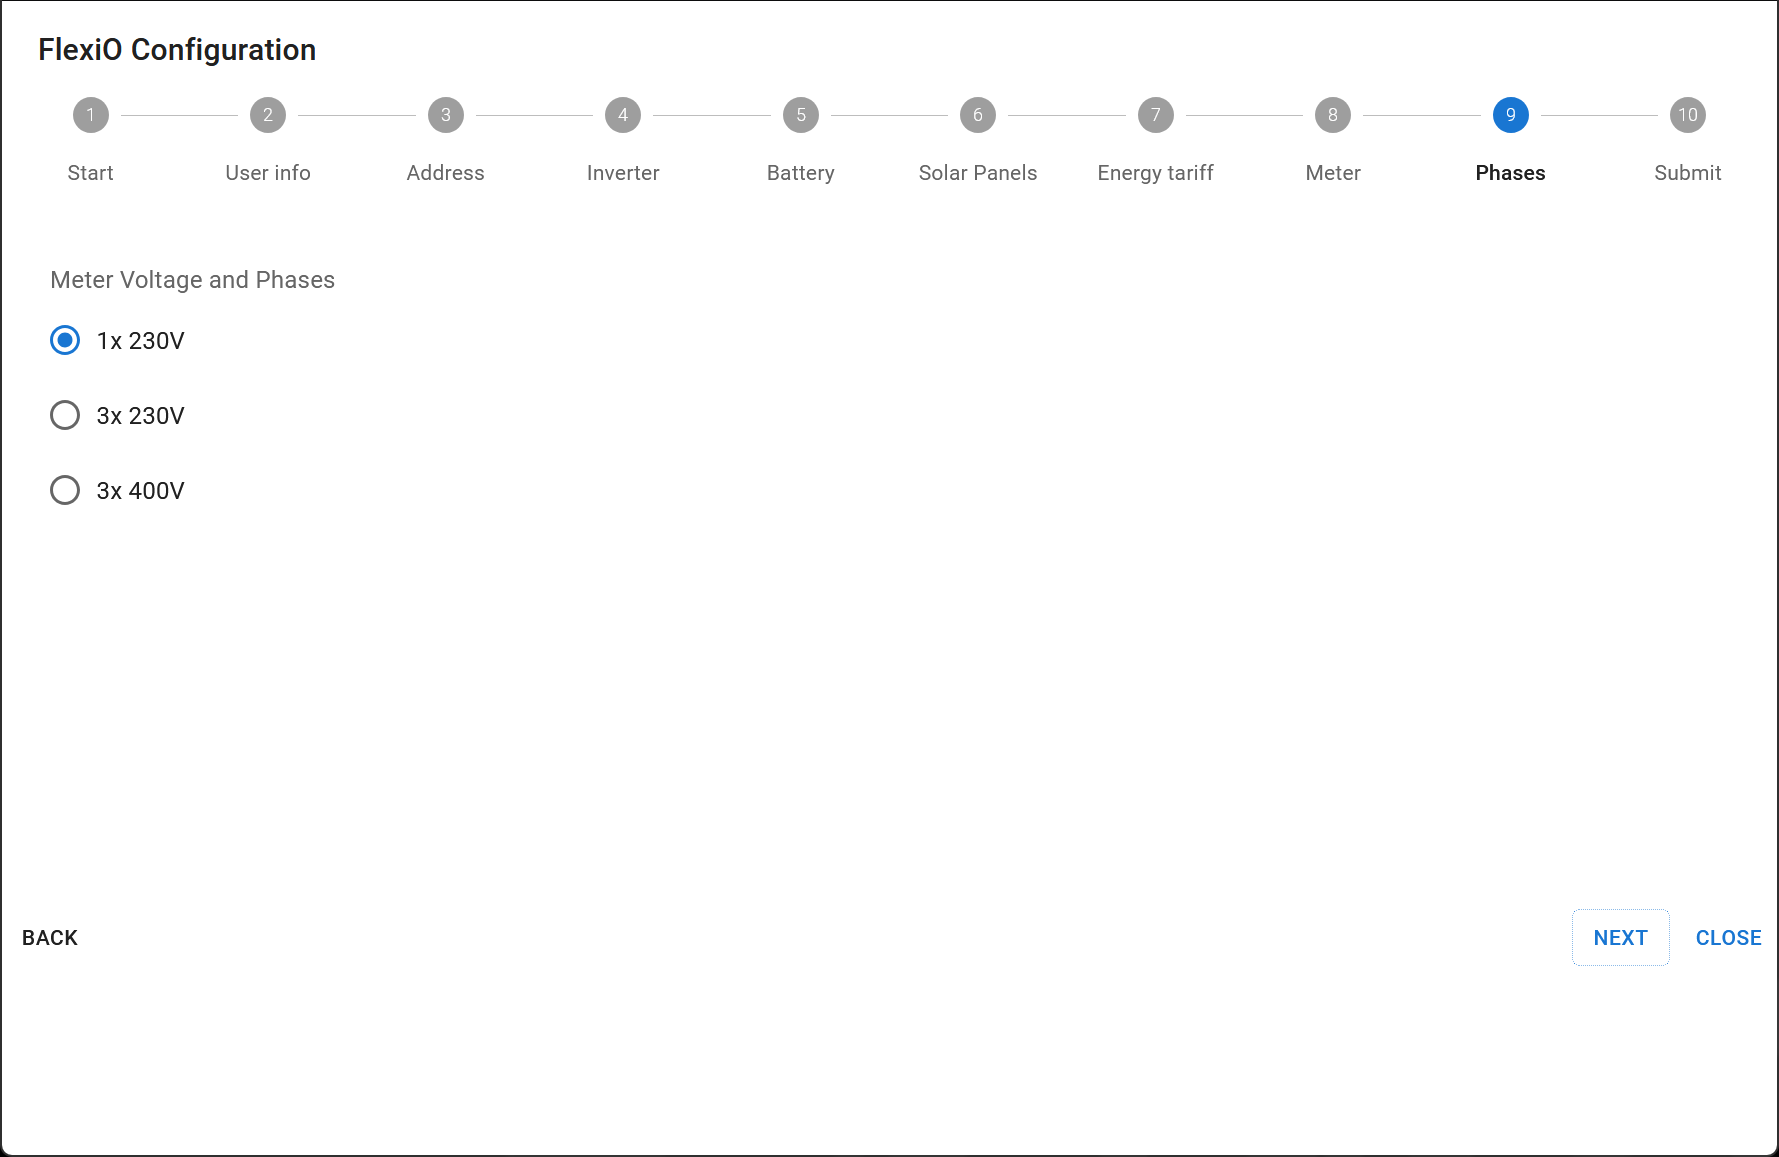
Step 9: Phase
Indicates the number of phases that make up the connection (1 or 3 phase):
-
1x230V(+N)
-
3x230V
-
3x400V+N
This value is overwritten when the P1 data is read through the P1 port.
Step 10: Forward Config
Click "SAVE" to save the FlexiObox configuration.
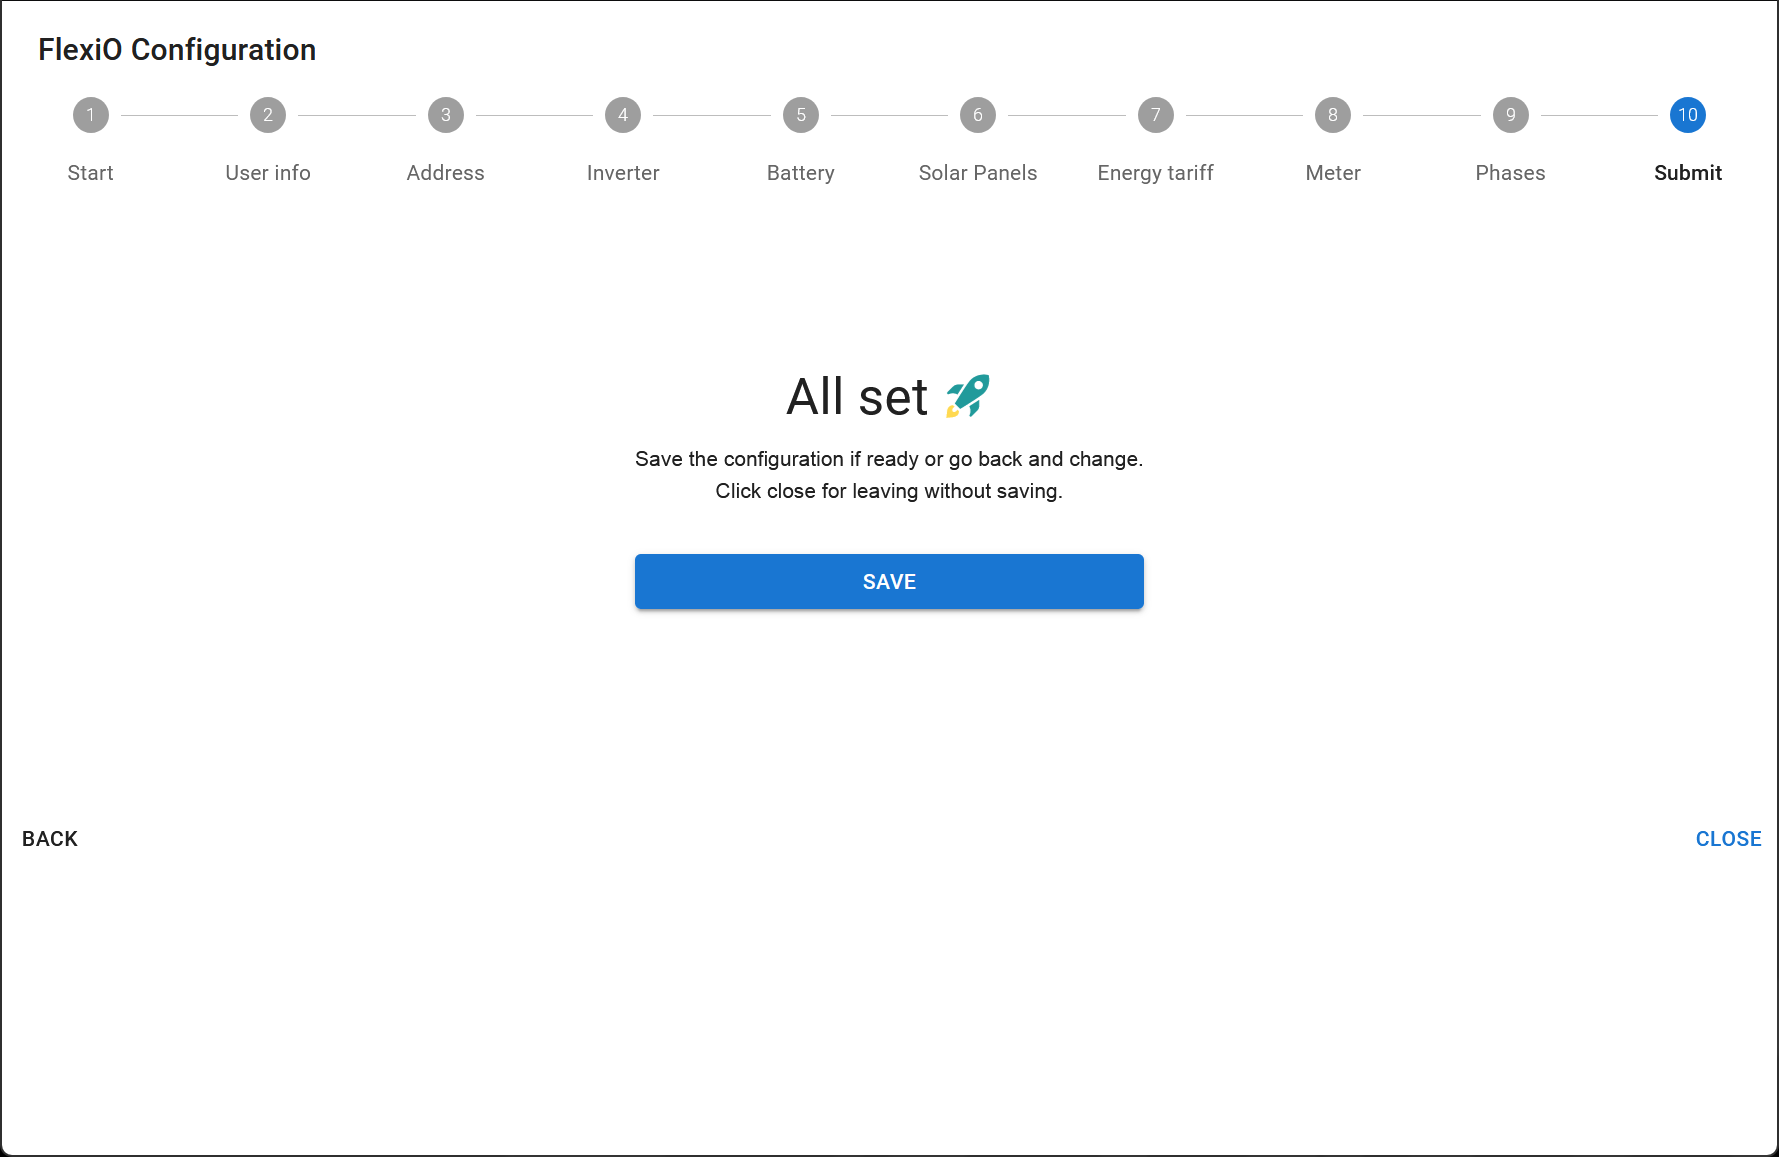
The Configuration Wizard closes.
You can enter additional configuration details on the Device Details page.
End of configuration
After entering the Device Details, FlexiO automatically starts checking the entered parameters. If the reality does not match the entered parameters, FlexiO will generate an error code.
Next section: checking
All FlexiO checks and any error codes can be found on the IO Diagnostics page, which is discussed in the next section.