
Preparation
Preparing FlexiObox installation location
Chose a location for the FlexiObox near the inverter (<2m) and/or digital meter, as a wired connection is always preferred.
Make sure at least 1 free AC socket is available for powering the FlexiObox.
Provide a wired internet connection (RJ45 connector) to this location:
Connected directly to the internet provider's modem
Cable and connector UTP Cat6 or higher preferred
The FlexiObox Wall Mount is sold separately and strongly recommended for a clean wall mount of the FlexiObox.
If you do not use a Wall Mount and rather use screws instead, make sure the screws are screwed in deep enough for avoiding risk of damaging the FlexiObox on the inside.
Preparing the FlexiObox for configuration
Follow steps below to prepare the FlexiObox for configuration.
The FlexiObox is designed with carefully selected and high-quality tested materials.
The software is developed and tested with the highest precision with a vision to provide sustainability and quality support to our customers.
LIFEPOWR offers 5-year warranty on the FlexiObox.
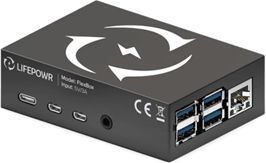
The FlexiObox
A LIFEPOWR installer login is required to configure a FlexiObox.
The FlexiO installer website also allows you to monitor and manage all your FlexiO installations.
No installer login yet? Read this section how to obtain.
Recommended to configure a FlexiObox in advance (e.g. at the office).
Make sure the FlexiObox is started up in a closed subnet without any FlexiO compatible devices present, otherwise these unwanted devices will be added automatically (eg. like EV chargers).
Multiple FlexiOboxes on 1 network cannot function together.
Please read this section on how to use or to set up the network correctly.
Step 1: Preparing the FlexiObox
Connect the internet network cable to the FlexiObox.
If you are already at the installation site:
Connect any remaining USB cablesDigital meter P1 port (LP12 or LP15)
Modbus RTU cable to the inverter
Plug in the included USB-C power supply in the wall outlet and connect at the side of the FlexiObox.
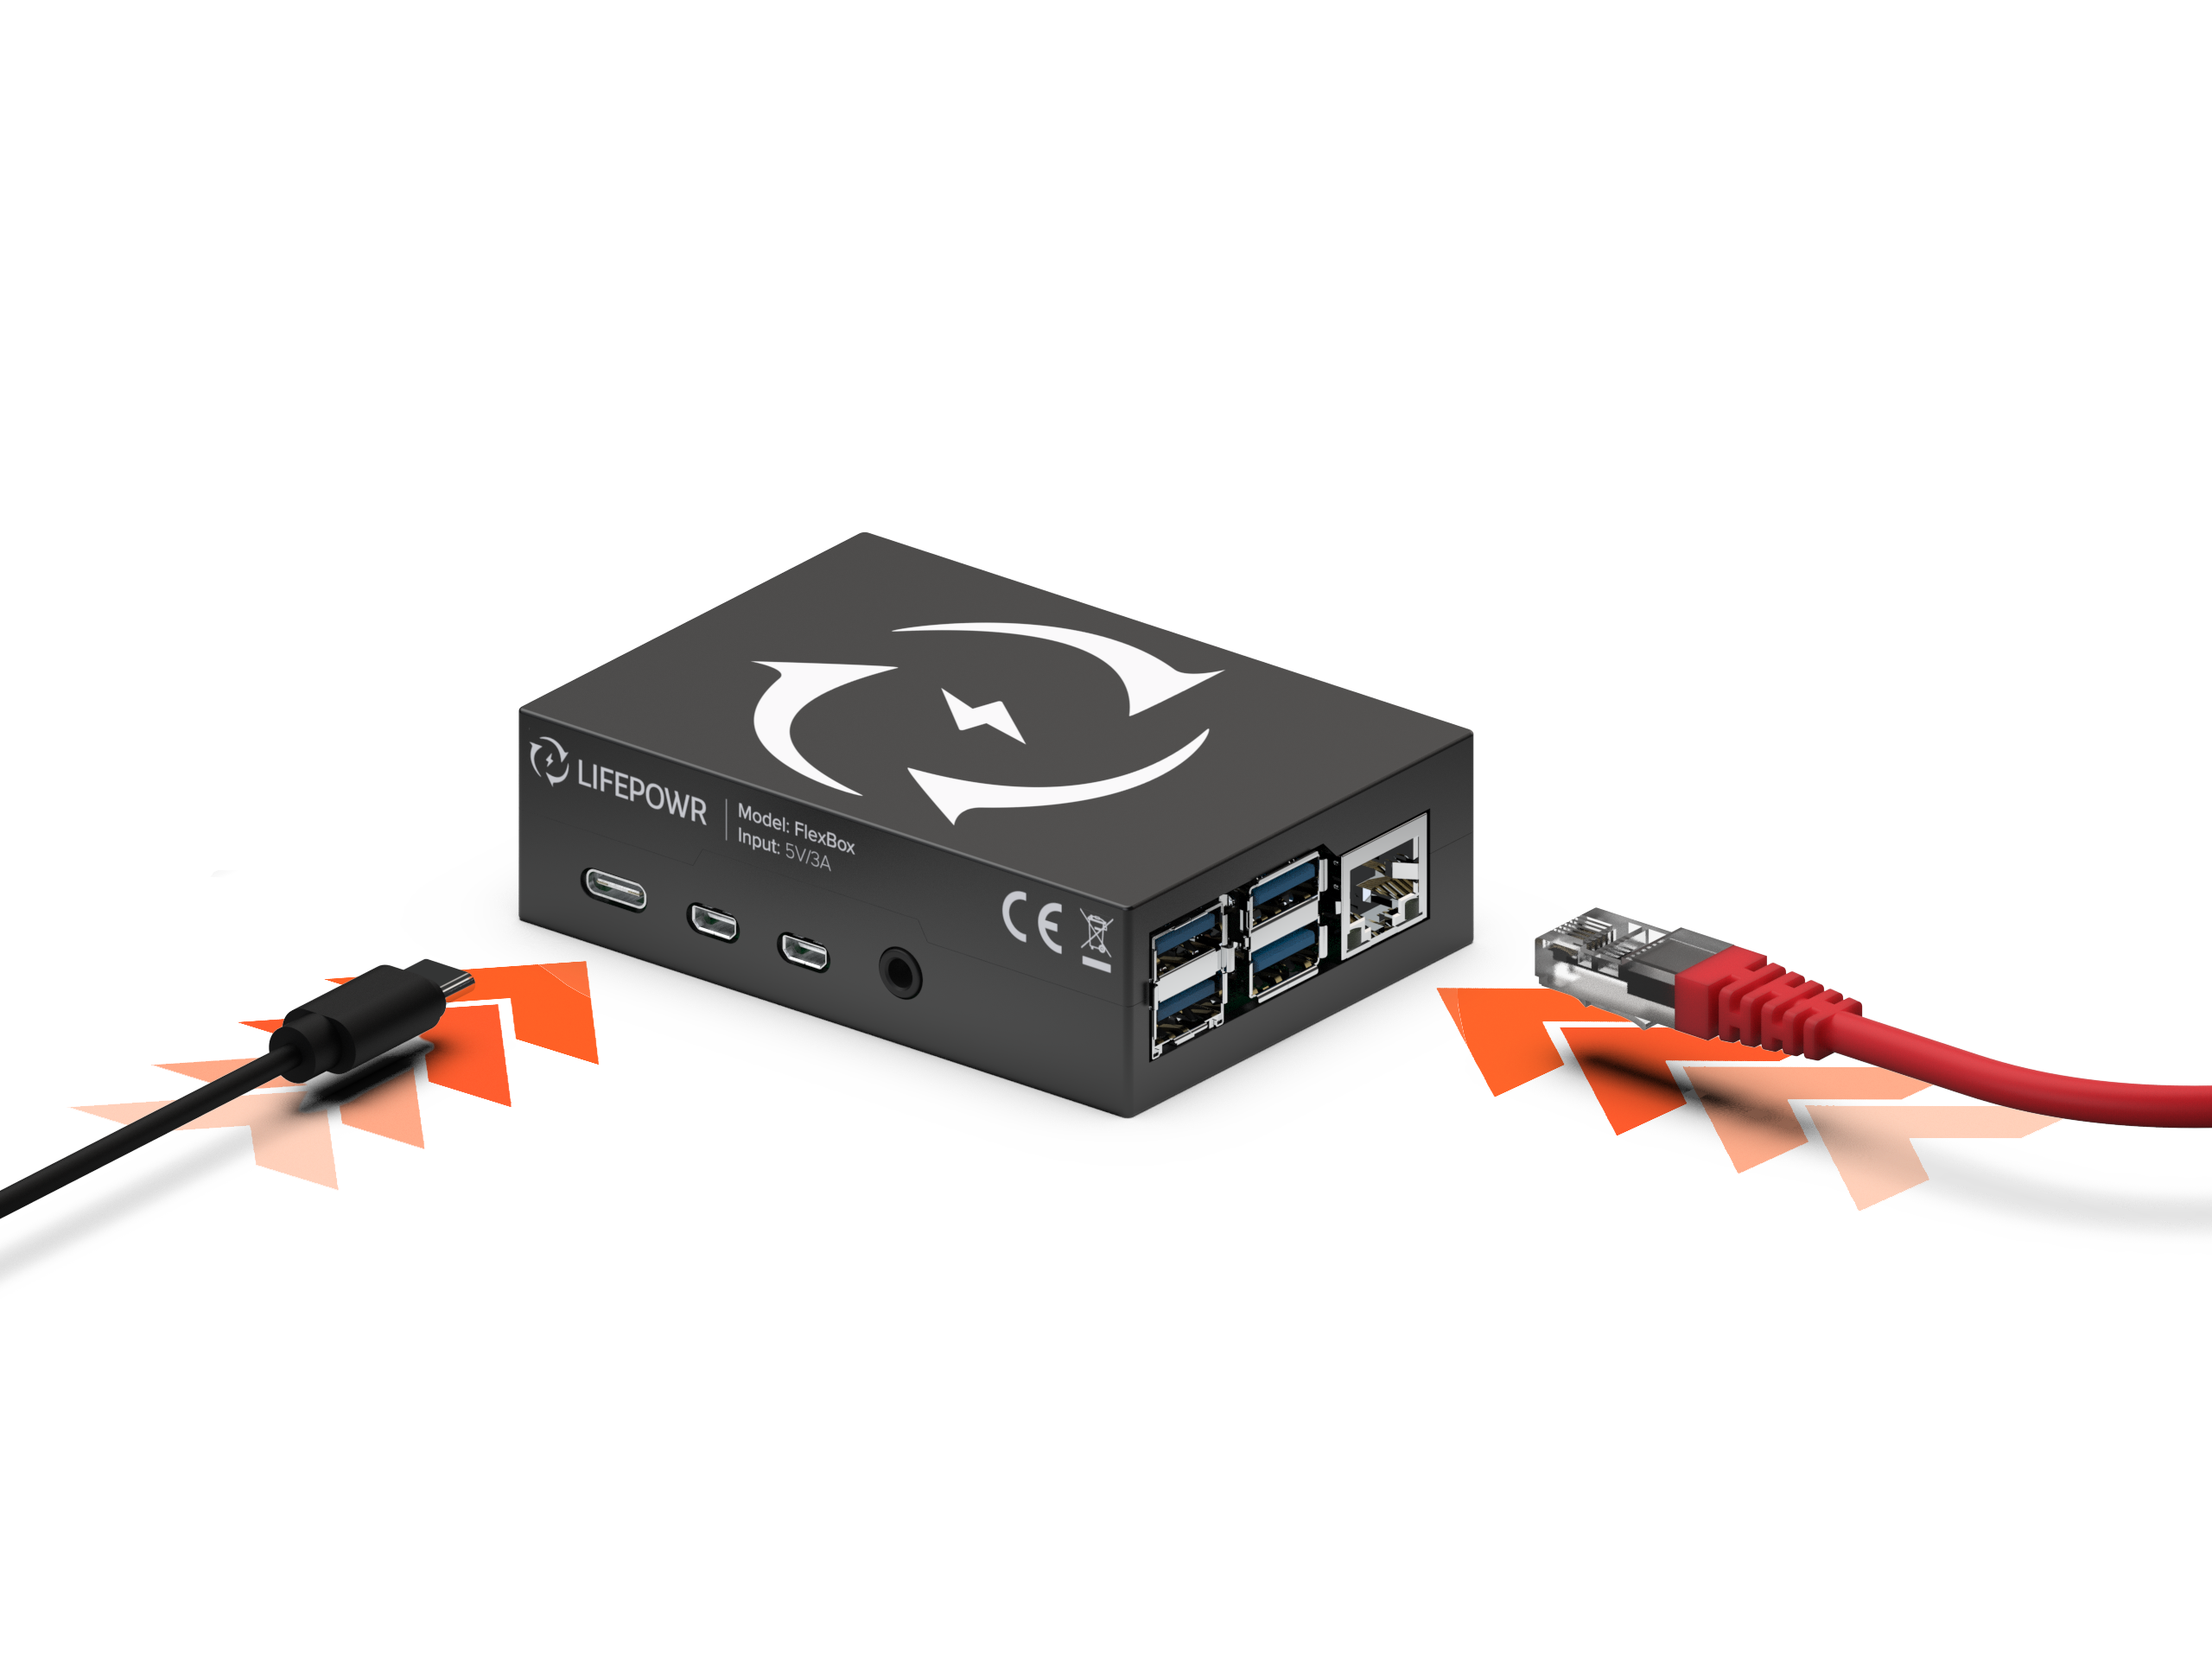
Connecting the FlexiObox
The FlexiObox starts up: at the front, you see the green and red LED lights flashing.
Wait until the LEDs stop flashing and the green LED lights up continuously.
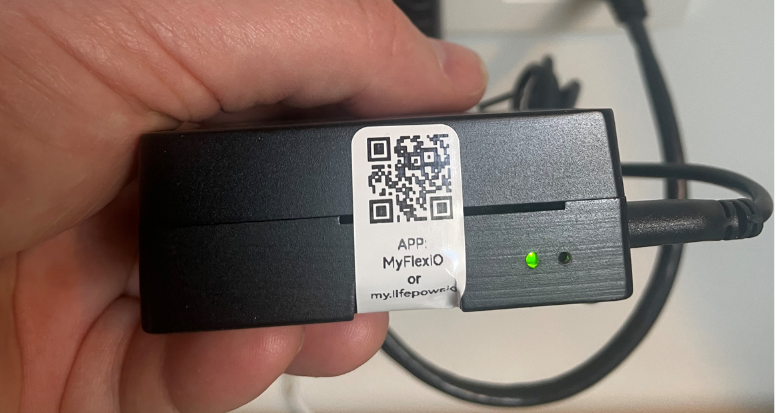
Green LED on the FlexiObox
If after 1 minute there is still no continuous green LED (with red LED off) there might be something is wrong.
Most common cause due to incorrect internet connection.
For example, are you using a network switch, powerline adapter or a specific network setup and the FlexiObox does not come online:
Do you have internet access on the FlexiObox's cable when you connect a PC to it?
Lay a direct cable from the FlexiObox to the modem of the internet provider
Additional info can also be found here
The FlexiObox is now running and ready to be activated.
Step 2: Activating the FlexiObox
By default, a FlexiObox is not activated and contains only the software needed to start up.
In this step, you activate the FlexiObox and the software upgrade will start automatically (the download volume is approximately 500 MB).
You will also see the FlexiObox appearing in your overview list after activation is complete.
Scan the QR code found next to the green LED on the FlexiObox:
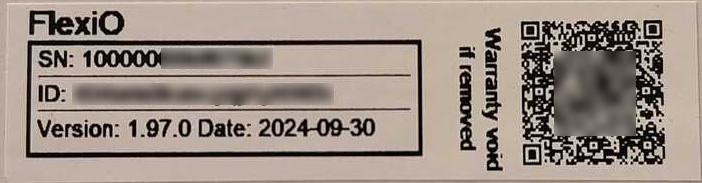
QR label example
The LIFEPOWR installer site opens.
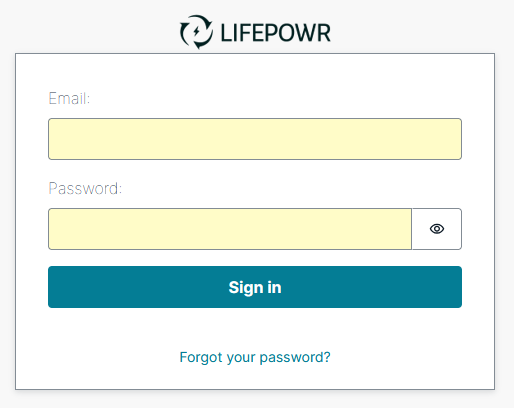
If you are not automatically logged in, a login screen will appear. Log in with your LIFEPOWR account:
Login page
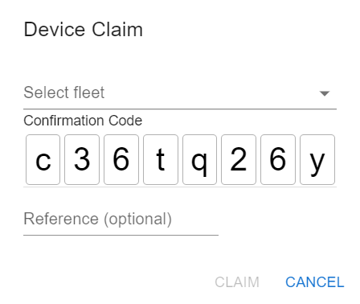
Device Claim popup appears:
Device Claim popup
Select the appropriate "Fleet" under which you want to place the FlexiObox.
Reference (optional) This value is for internal use by the installer only and is not displayed to the end user. You can then manually look up the FlexiObox in your "Fleet" using this value.
Click CLAIM.
Wait very briefly until ☑️ Successfully claimed device '[device-ID]' appears in a green bar.
If you receive an error message, wait a while and click CLAIM again.
The FlexiObox is now activated in your "Fleet" and will shortly start downloading the latest software.
Next section: configuring
If you need assistance configuring battery inverters and/or charging stations, look here.
The FlexiObox is now ready for configuration.
You can configure the FlexiObox in 2 different ways:
Detailed configuration → click on the DEVICE DETAILS button
Quick configuration → click on the CONFIG WIZARD button